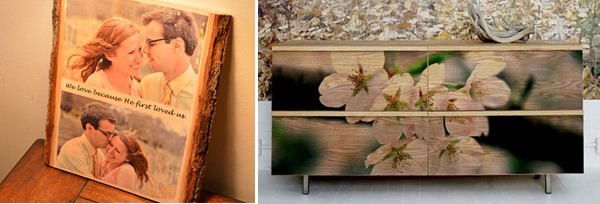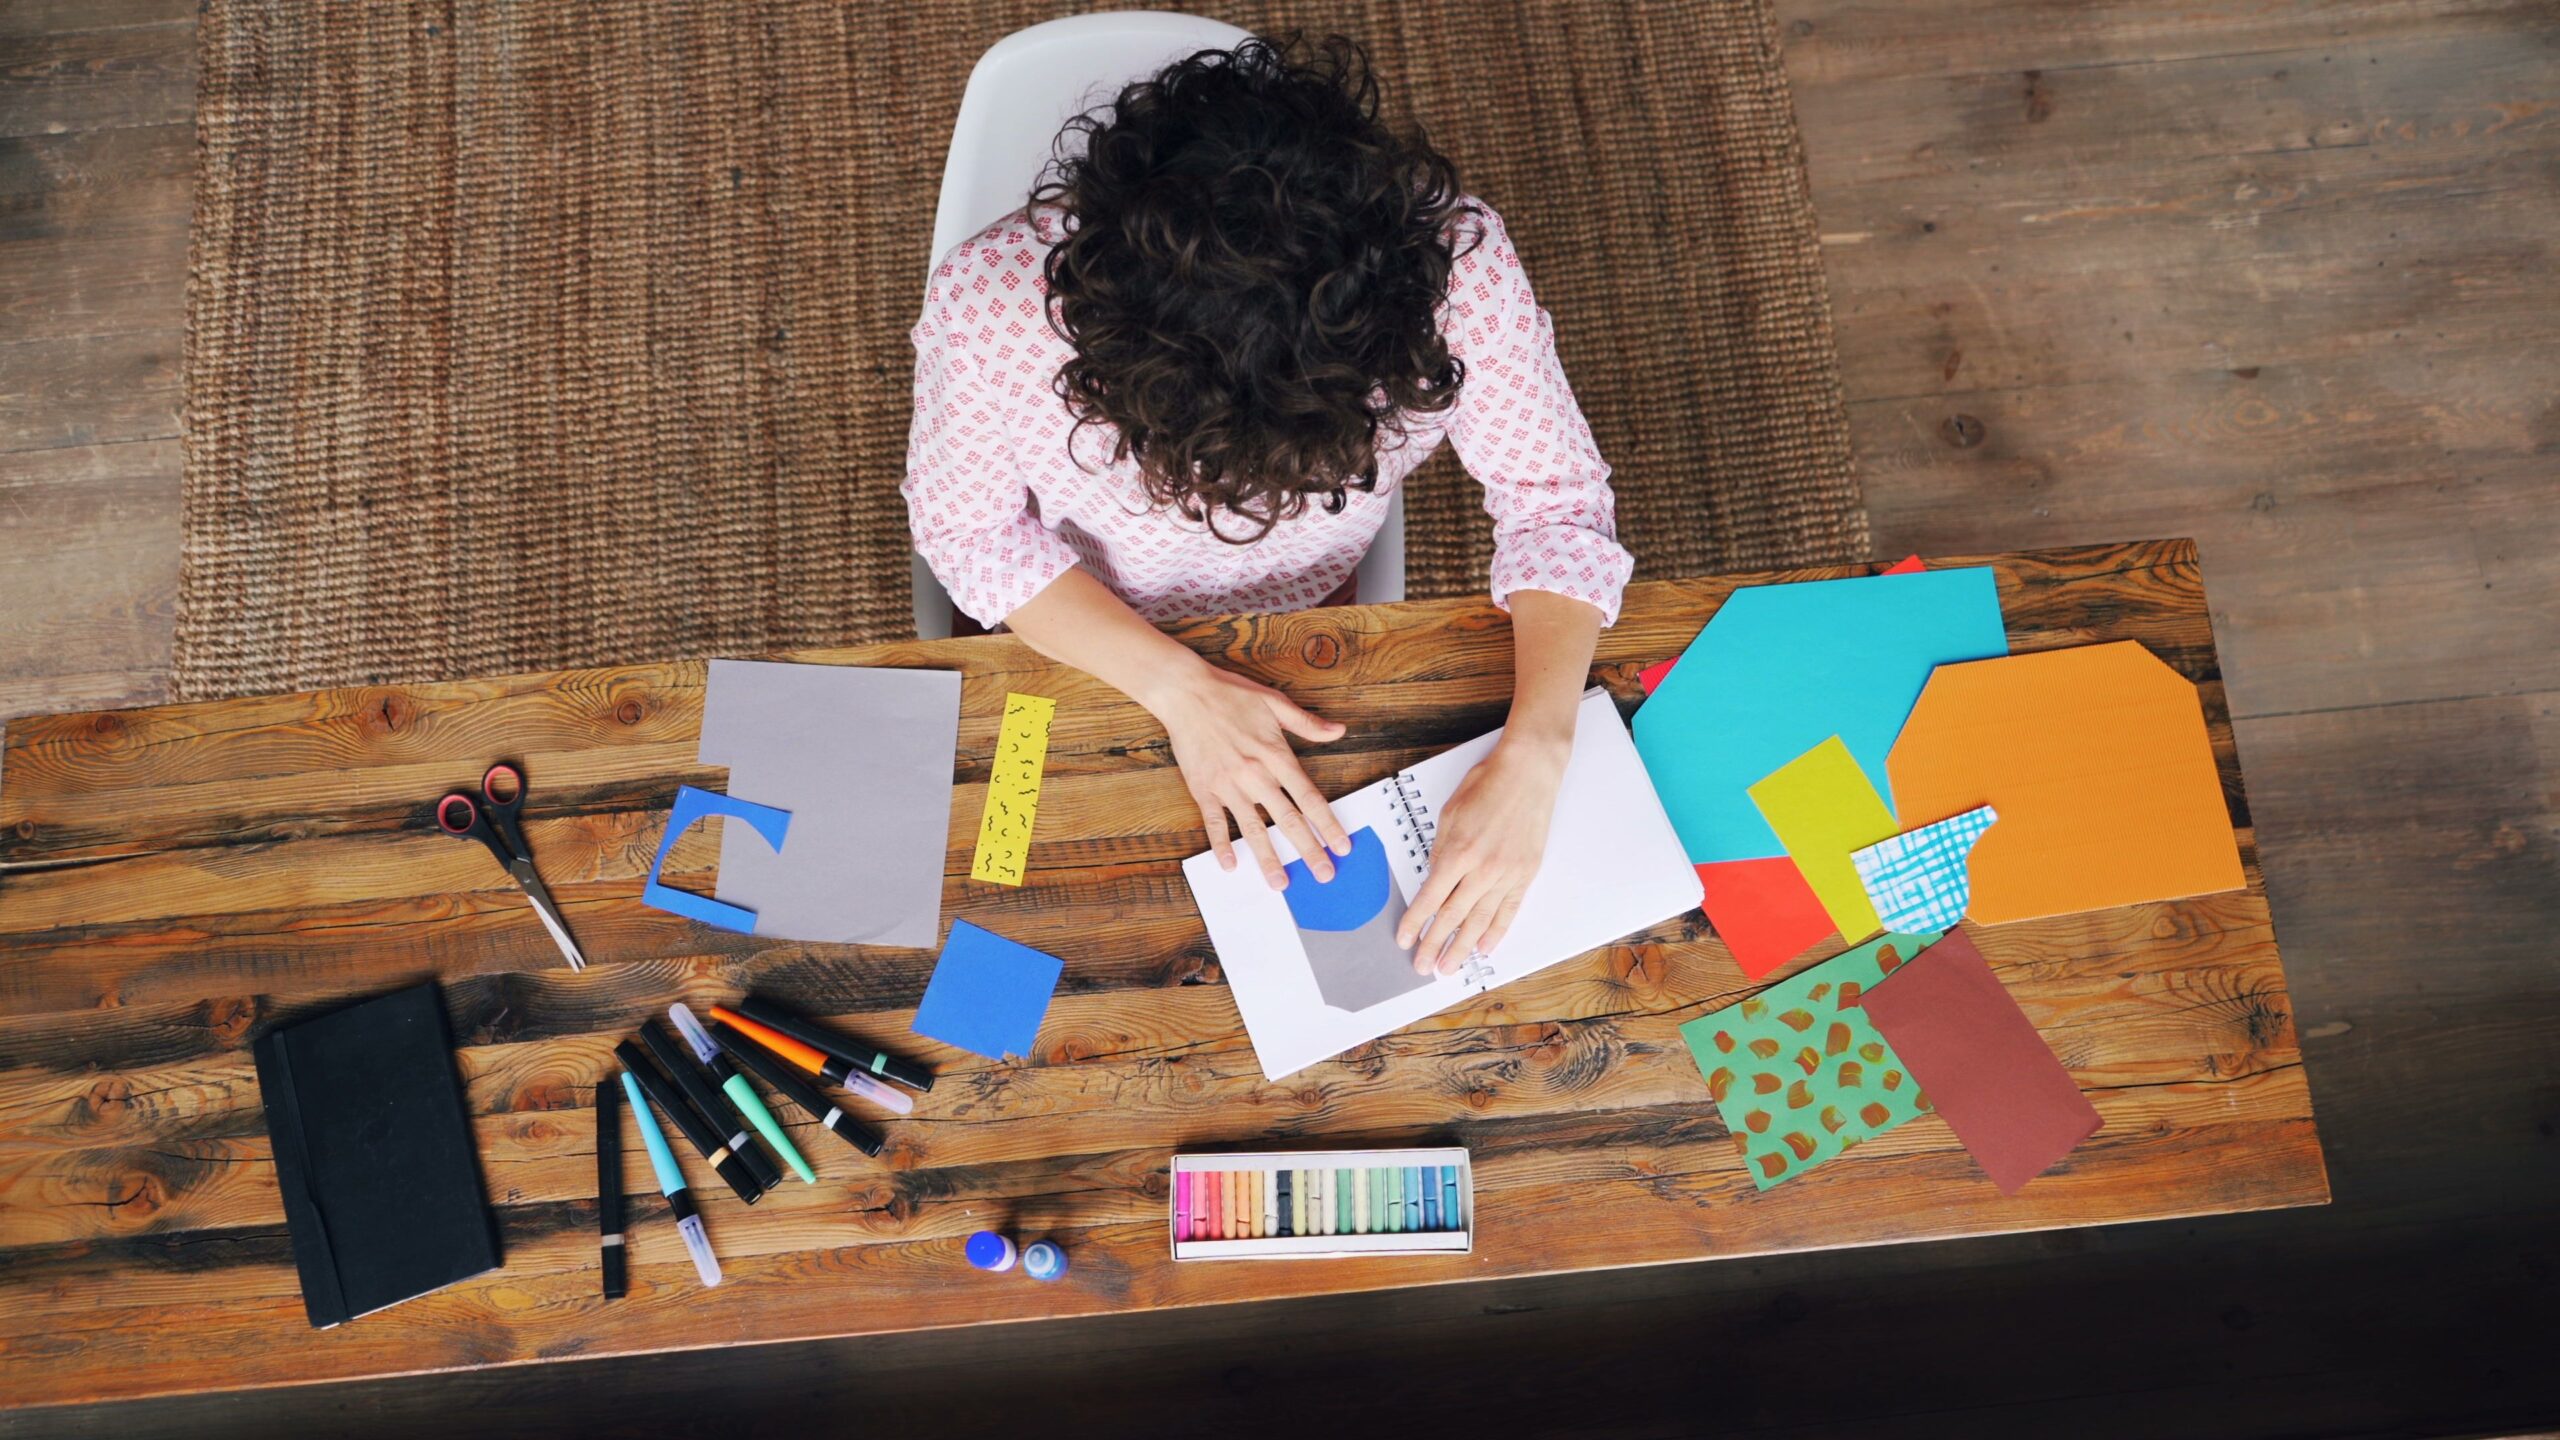
Got some time on your hands? Select a few favourite photos and transfer them to wood panels! You will be creating lovely family mementos, and with some practice perhaps even true pieces of art.
There are several techniques for transferring images to wood. All of them require three essential components:
The wood panel. You can either cut the board to image size, or get an image to fit the board you have. If you want the wood grain to show through your image, choose a raw wood panel with interesting texture. If you are going for a non-transparent effect, any panel will do, even a painted one. In any case, it should be very smooth.
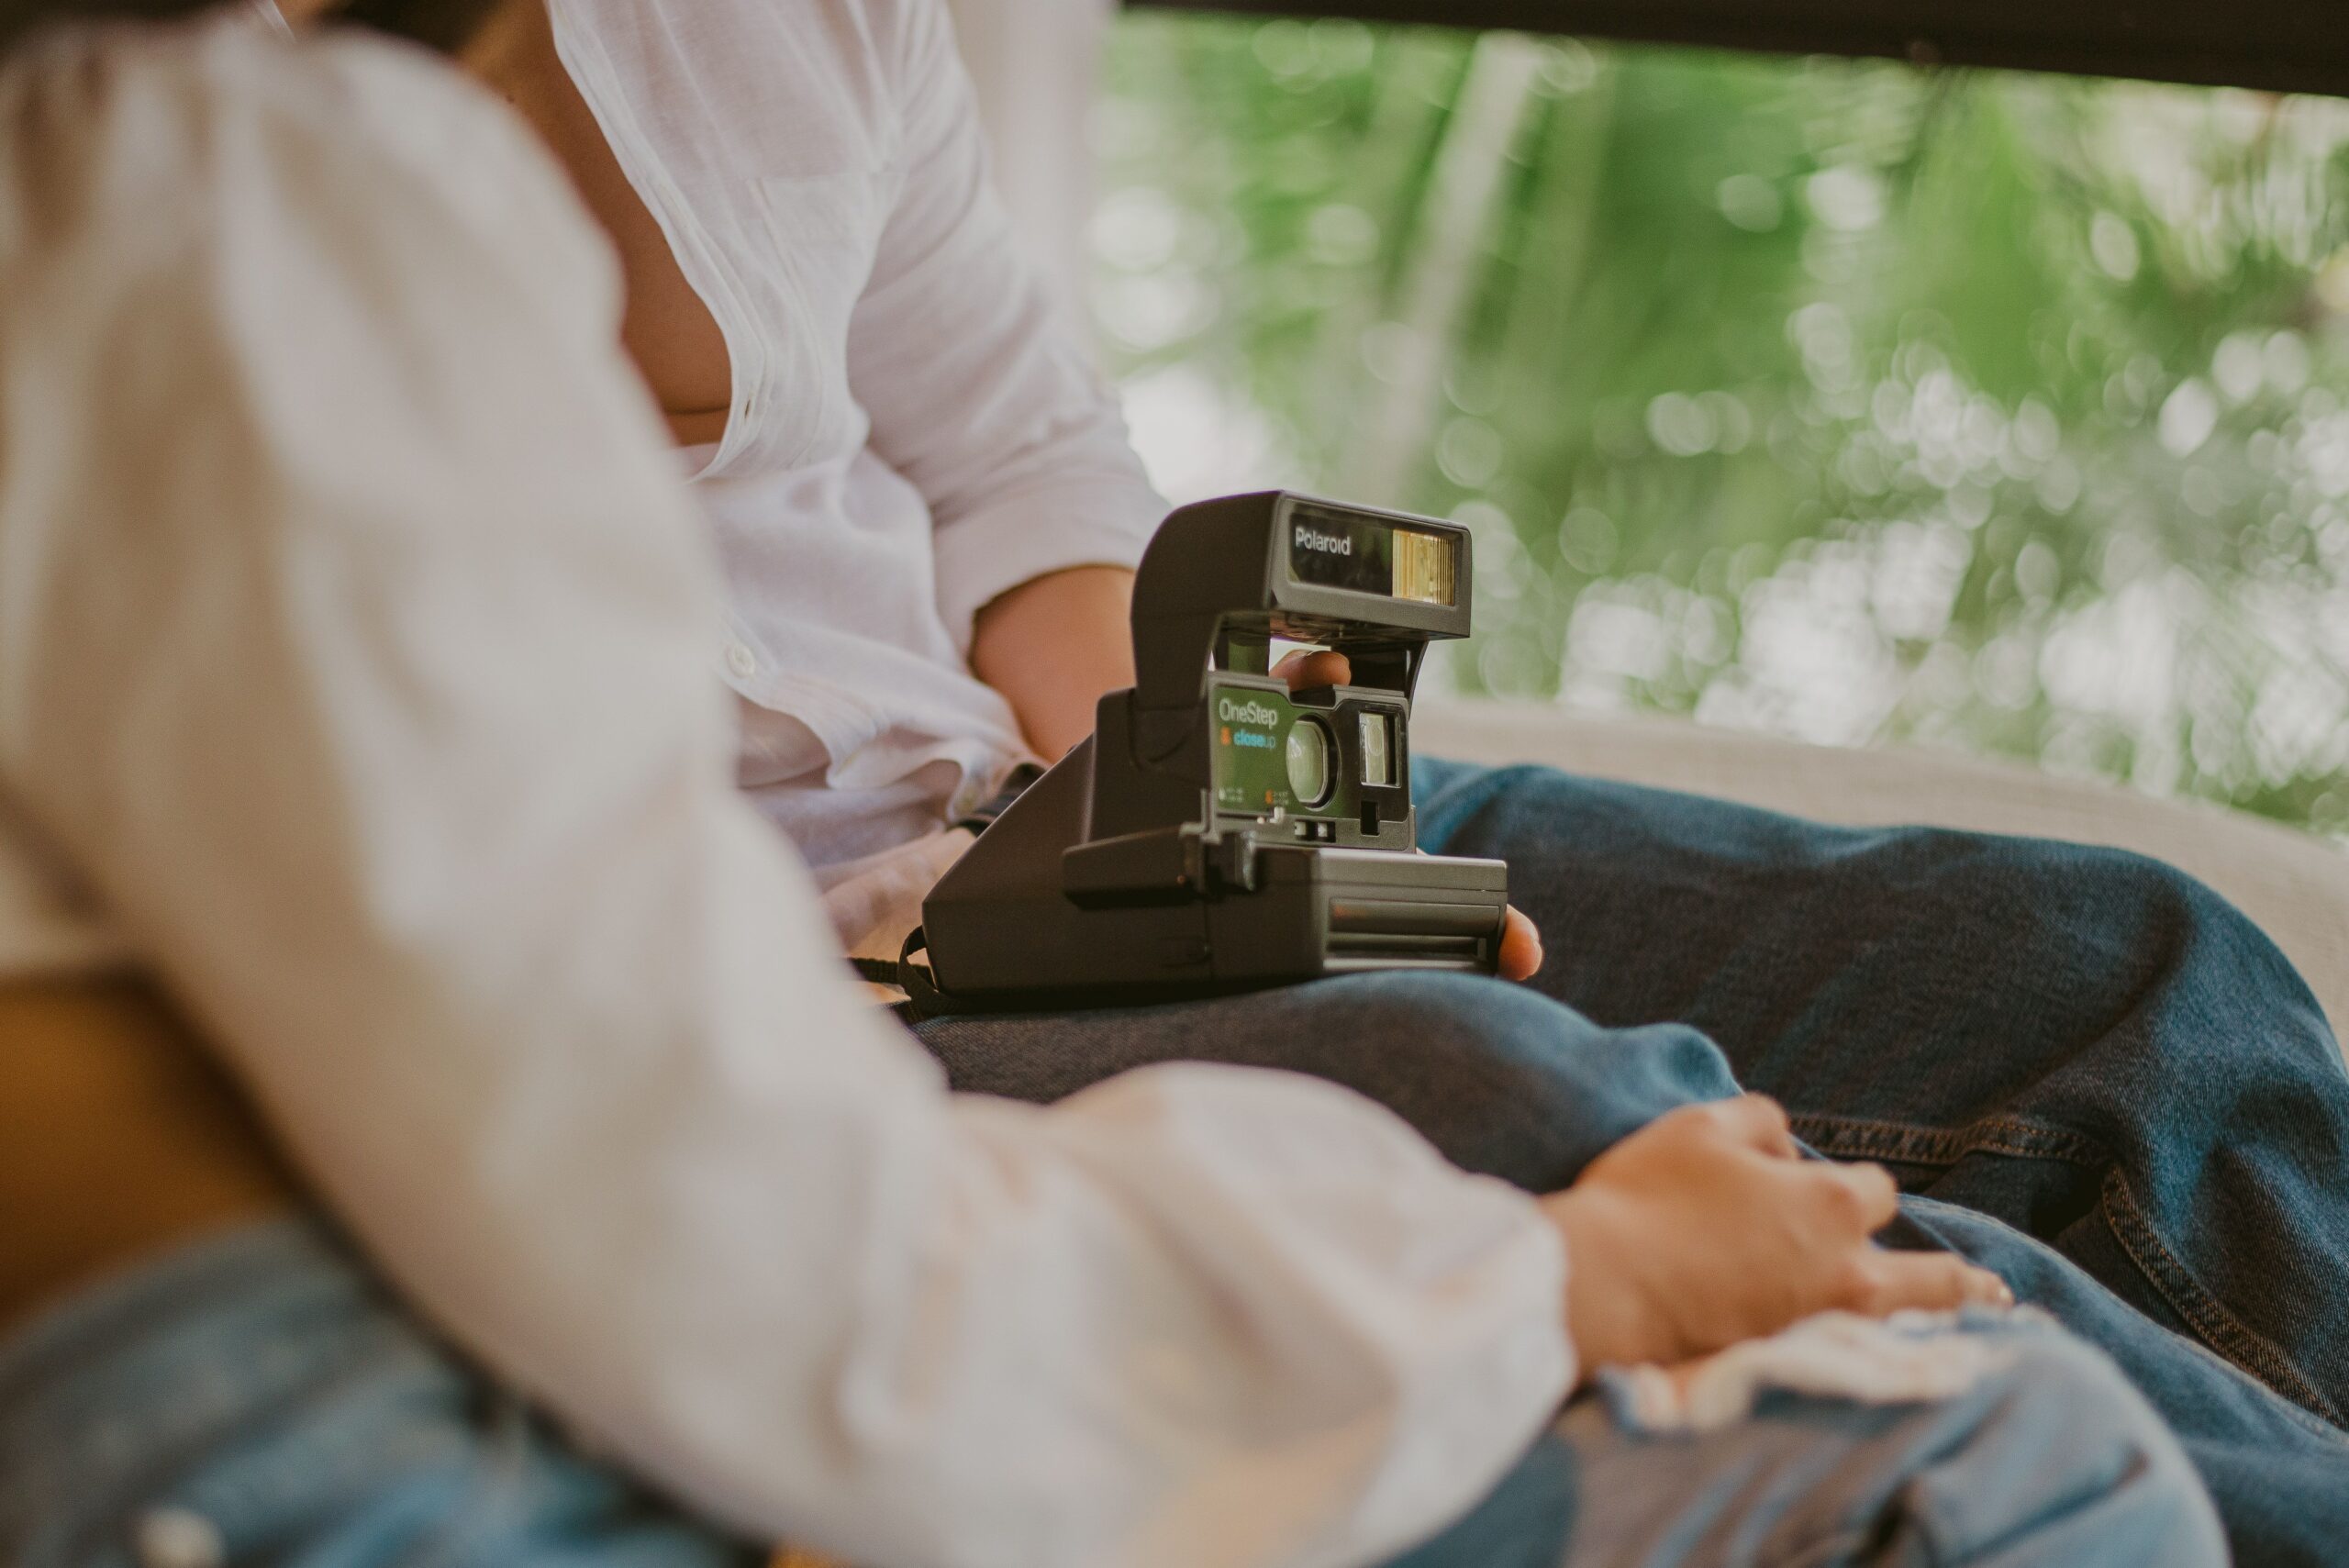
The image. The image has to be printed on one side of the paper, with the other side empty. Use regular copy paper, not photo paper. Calendar images will do well, but remember that the final result will be a mirror image of the original. If you do not want that, scan the image, reverse it with photo editing software and print it on a laser printer. (Inkjet printouts will be discussed separately below.) Take into account that white areas on the photo will be wood colour on the transfer.
Transfer medium. You can use a solvent, a medium, or even an ordinary household iron to transfer your image. As you’ve probably guessed, this is the step that dictates the mechanics of the whole project. Depending on the means of transfer you chose, you may also need some additional items, such as a tape, a brush, a piece of cloth, and so on.
Let’s discuss the most popular methods of transferring images to wood in more detail.
 The solvent method
Any type of solvent will do: turpentine, lacquer thinner or acetone. This is the go-to method for beginners. For good reason, because solvents are cheap and the process involved is quick. However, solvents are highly flammable and emit nasty fumes, so take time to read manufacturer’s warnings.
Secure with tape a laser printout or photocopy of your image, face down, to the wood plank. Soak a paper towel or a cloth with the solvent and dab the paper (do not drag) until the whole surface is wet. Alternatively, apply the solvent with a soft brush, taking care not to make the paper too wet. Then glide the back of a spoon over the damp paper, pressing it firmly into the wood. Remove the tape and the paper to reveal your transferred image!
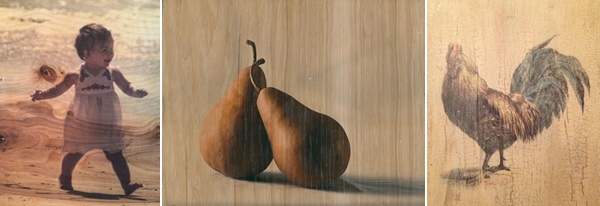
Different types of solvents will produce different results, but as a rule this method is suitable for a transparent, faded and distressed look.
 The medium method
Mediums are usually white and much thicker than solvents. You can use dedicated photo transfer medium, gel medium, all-purpose medium, and so on. Just like with the solvents method, you will need a laser printout of your image.
Use a brush to apply a thick (but not too thick!) layer of the medium to the wood panel or to the image – or to both. Then press the image face down onto the panel. There is no need to tape the paper, because the medium acts like glue. Rub the paper firmly to smooth out the image and remove air bubbles.
Leave it overnight to dry completely. Then wet one section of the paper at a time with a damp cloth or sponge and rub gently to remove the paper and reveal the transferred image below. When it looks like you’ve removed all the paper, leave the panel to dry and then wet again and rub away the paper fuzz that probably remained behind.
Sometimes you will need to repeat the dry-wet-rub process three times. More often than not, that will be enough.
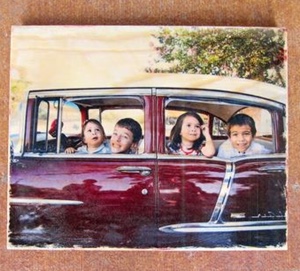
The medium method gives opaque, “true to the original” results; some mediums (e.g. the photo transfer medium) will not even allow the wood grain to show through. You can achieve a somewhat distressed look by sanding the transferred image around the edges.
 The ironing method
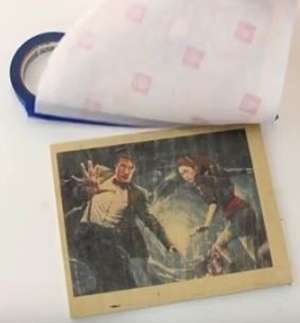
A laser printout can be successfully transferred to a wood plank by simply ironing it. Put your image face down on a wood plank and secure one long edge with tape.
Set the iron on high and iron the paper with smooth, even movements, taking care not to wrinkle it. When you think you’ve done enough ironing, lift a corner of the paper to peek underneath. If necessary, resume ironing, focusing on areas that did not transfer too well.
Do not let the paper cool off while it is on the panel; it must be removed while still hot, or it will stick to the wood.
The ironing method produces somewhat faded, fuzzy results.
 What about inkjet printouts?
The problem with inkjet printouts is that the ink will run and smudge in contact with solvents, mediums or iron… But there are ways to successfully transfer an image printed with an inkjet printer to wood!
The trick is to print on non-absorbent paper such as label paper from which the labels have been removed. Make sure that the image you want to print has some white around the edges, or set a margin wide enough to enable you to hold the paper without touching the printed area.
When the image is printed, position it carefully over the wood plank, face down. You have to do it right the first time; there are no second chances here! Carefully press the paper down flat and rub with your hand or the back of a spoon, making sure not to let anything move or shift.
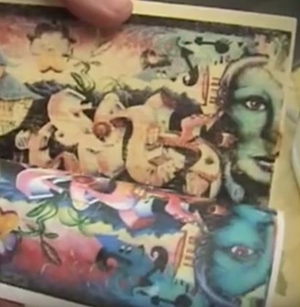
The final result will be akin to an Impressionist painting.
Protect with a sealant
It is advisable to protect your masterpiece by applying a layer or two of sealant. Sealants come in a wide range of products: oil based or water based; matt or glossy; brush-on or spray-on… Whichever one you use, remember to let the first coat dry completely before applying the second coat.
Moving on
Once you have created a gallery of pictures on wood, you may want to consider embellishing pieces of furniture with the same method. And there’s nothing to stop you from trying different surfaces! Some of the methods described here will also work on canvas, fabric, metal, glass, plastic, ceramics…. It is worth noting that iron-on transfer paper works especially well when you want to transfer an image to fabric.
Enjoy experimenting!