
Lockdown has led to an increase in DIY activities, from baking banana bread to questionable home haircuts. Resin jewellery was a breakout 2020 DIY trend and it seems to be sticking around (no pun intended). If you’re keen to try out this trend for yourself, bidorbuy has everything you need to start your resin fun.
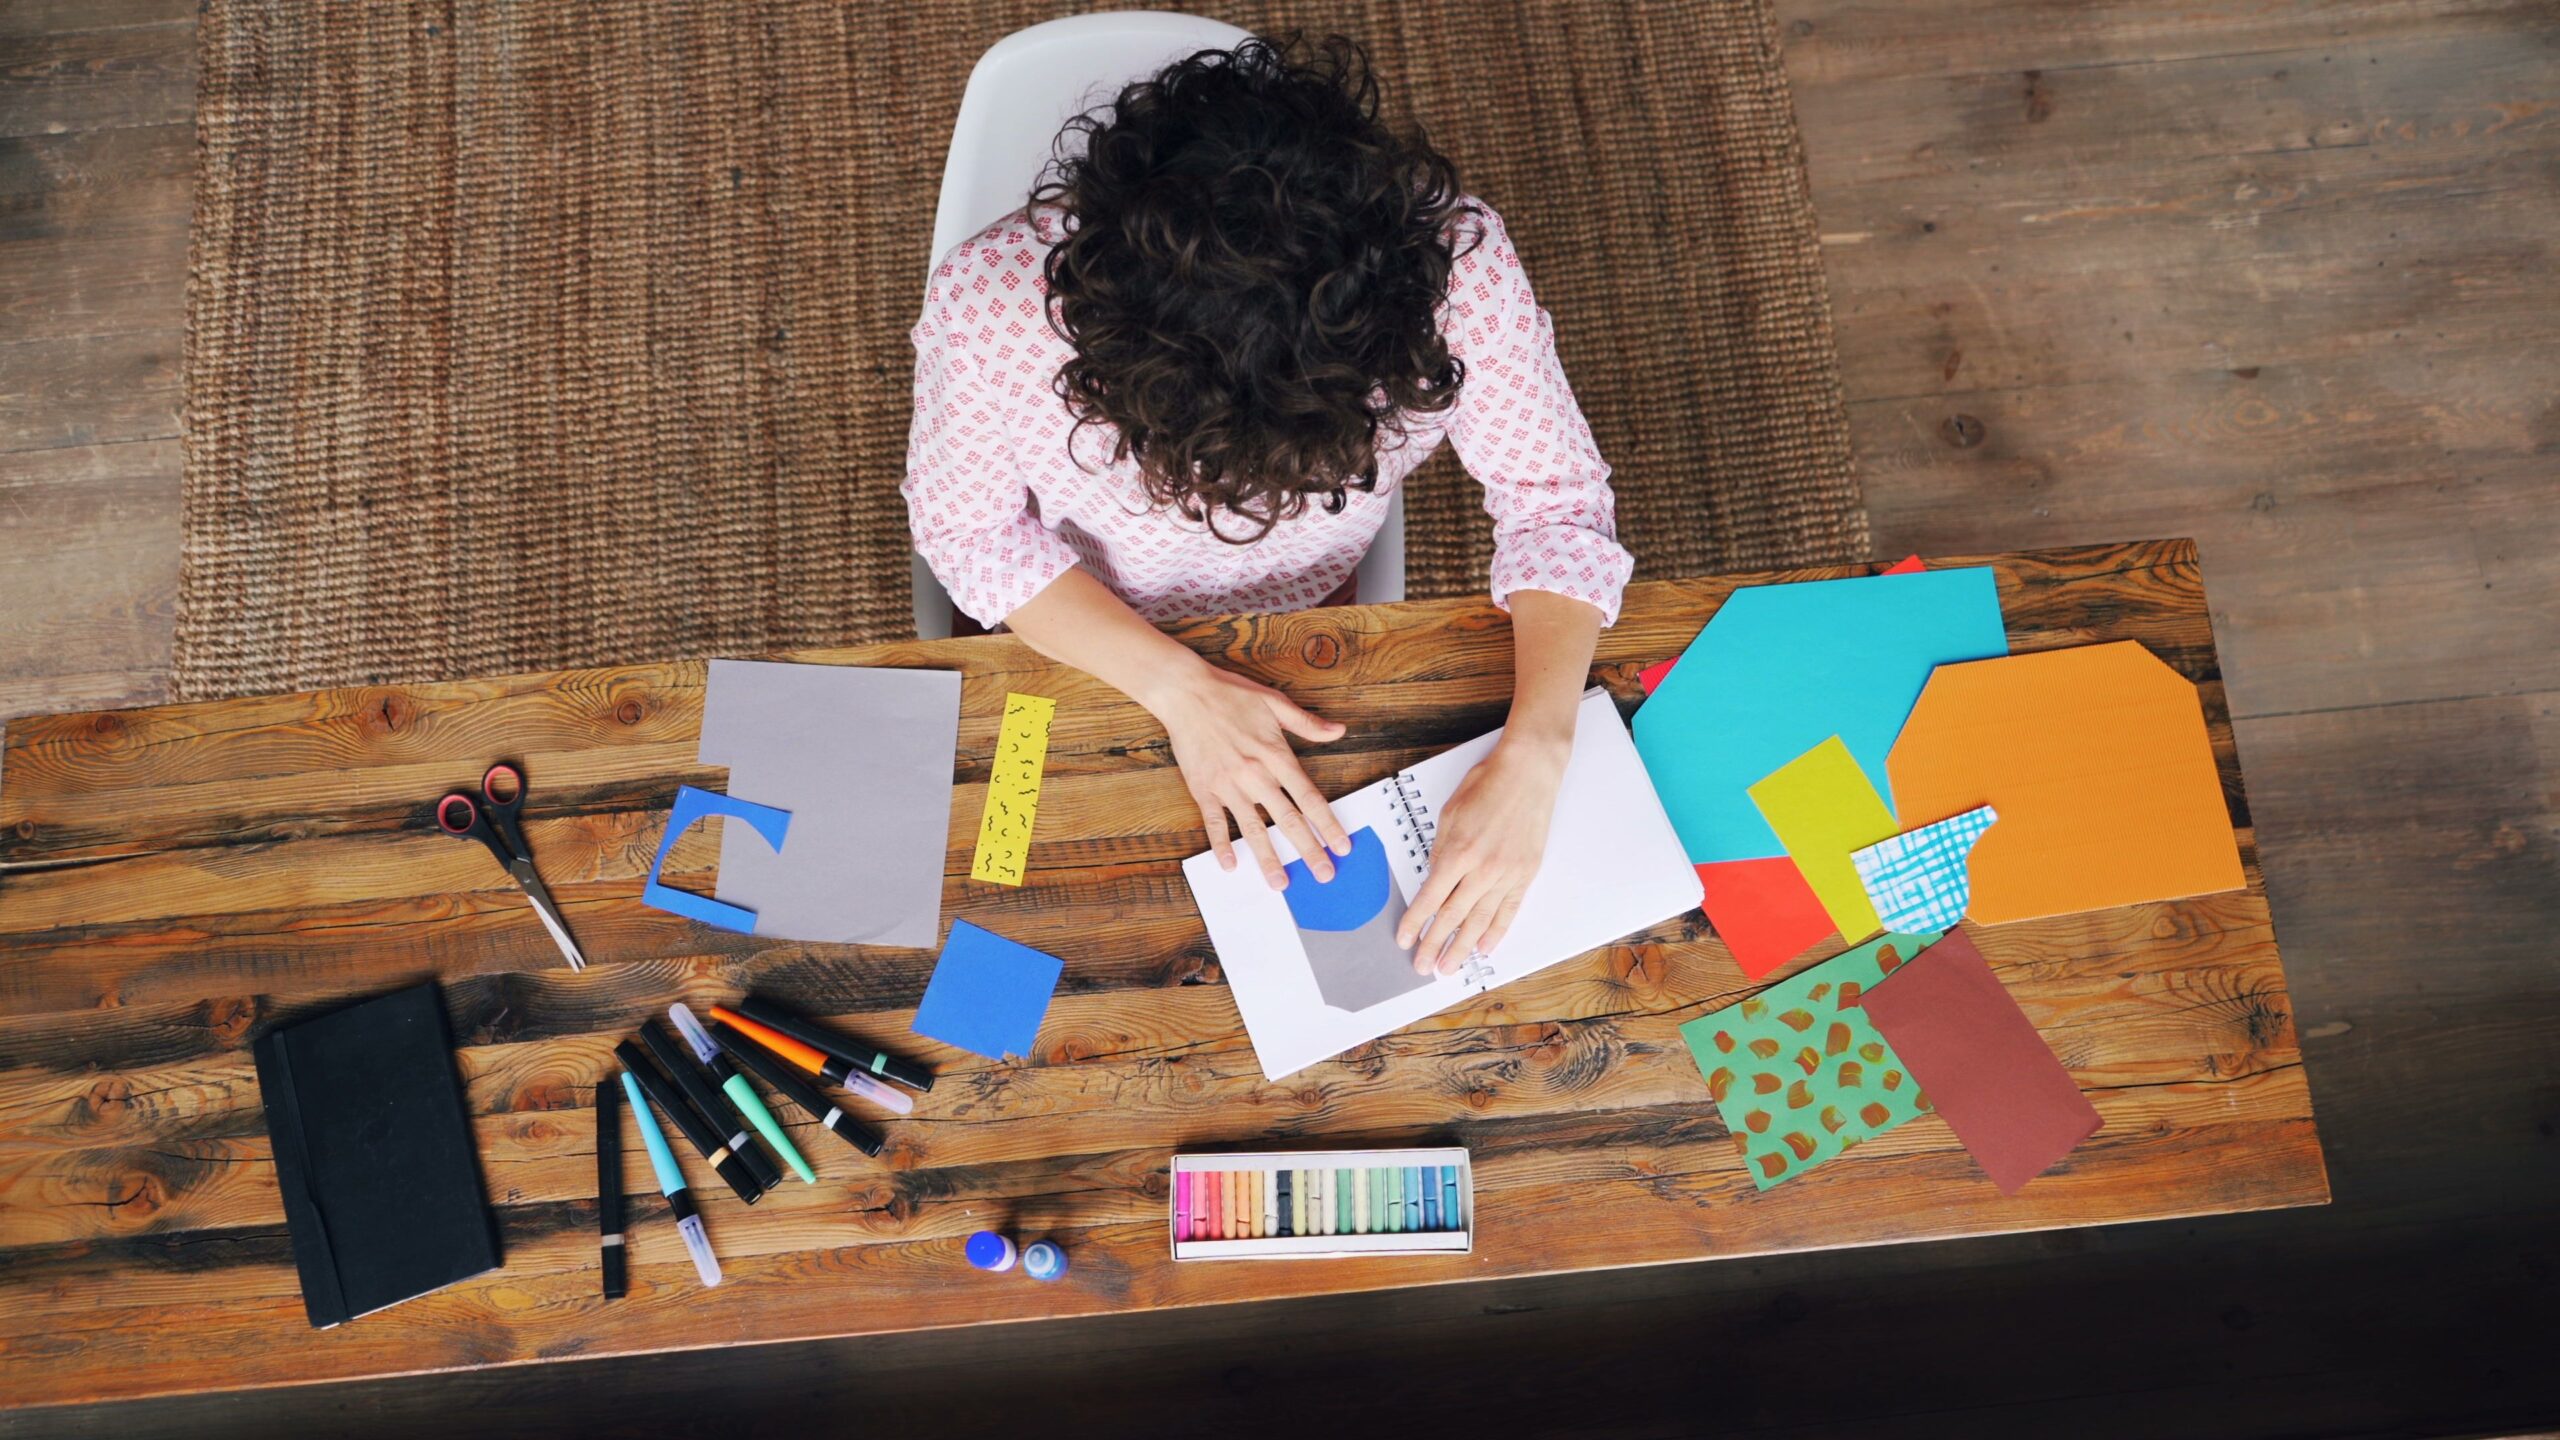
Making your own jewellery lets you give free rein to your creativity, plus the opportunity to add a personal touch to an outfit or create gifts with genuine sentimental value.
Step 1: Get your stuff together
You will need resin, silicone jewellery moulds, fun fillers to set in the resin (candy, glitter, sand, drawings, photos, yarn, etc.), pendant trays, jewellery findings, sandpaper, tweezers and a mould release conditioner. Got all that? Then we’ll begin!
Step 2: Apply mould release conditioner
Wash your mould with soap and water then apply the mould release conditioner – this will make it easier to release the objects from the mould.
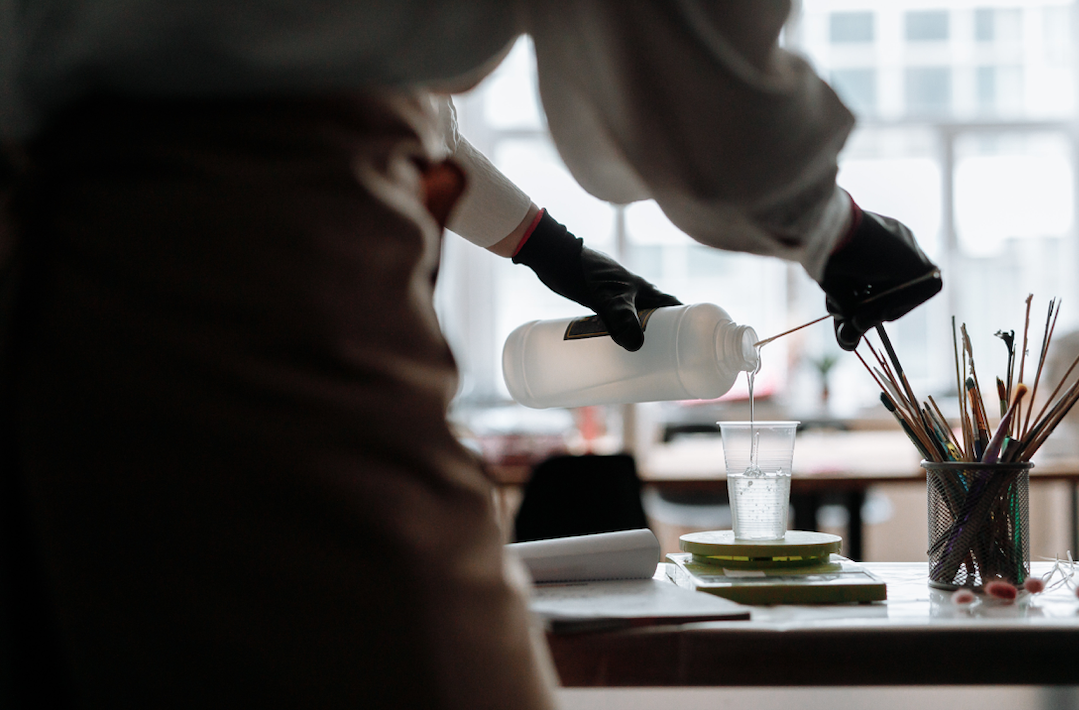
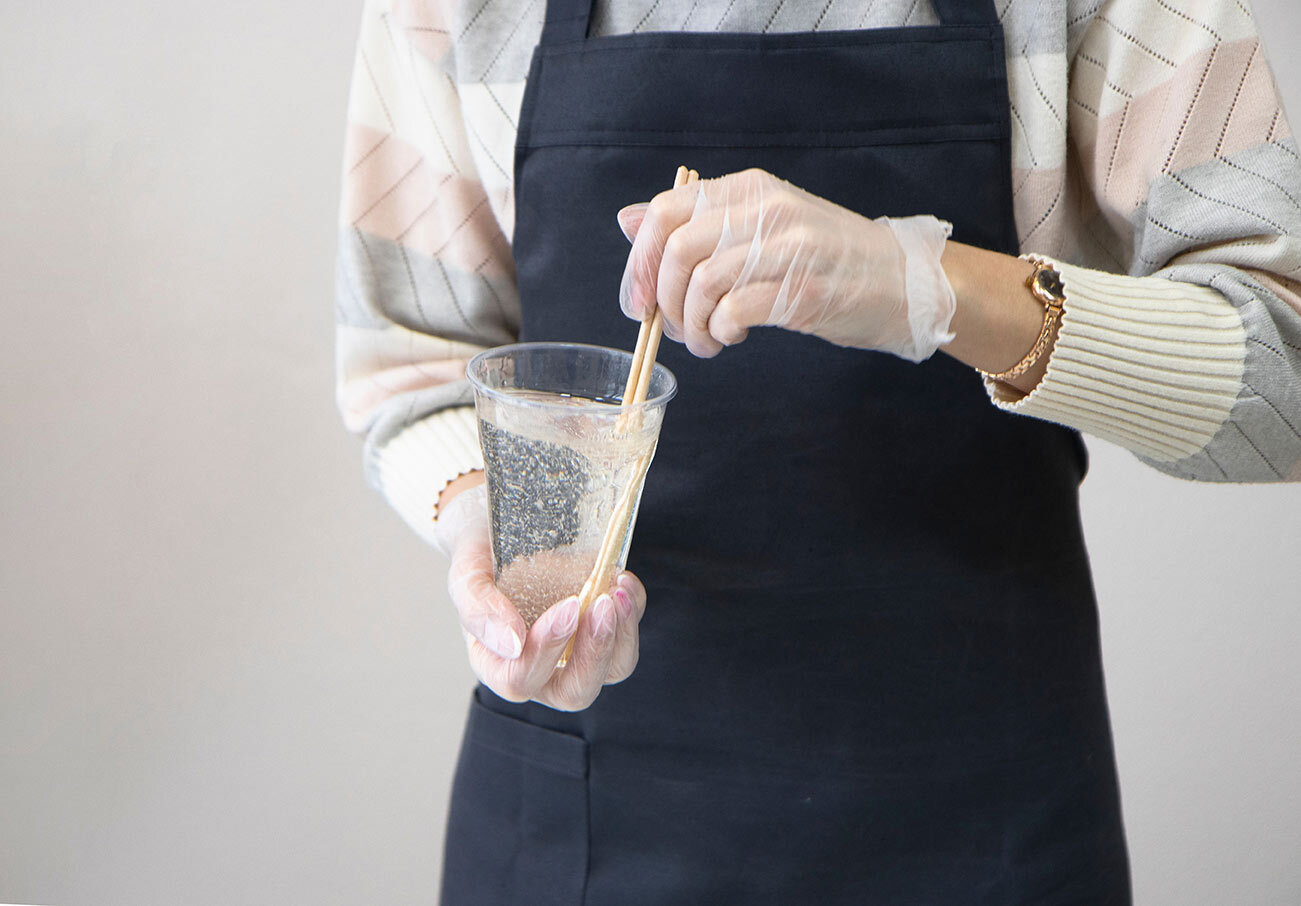
Step 3: Mix your resin
There are many different types and brands of resin, but for making jewellery, we recommend that you stick to epoxy resin. For clear epoxy resin, choose between Gedeo and Dala resins, or go for a more glamourous vibe with pearl epoxy resins. The mixing instructions on the packaging tend to be very similar; typically, you will have to mix the epoxy resin with a hardener for about 2 minutes. You then have about 30 minutes to work with the resin before it starts to set.
At this stage, depending on your desired finish, you can also mix in various paints and powders – try experimenting with pearlescent powders, Acrylic model paints and Pebeo Fantasy Moon (a solvent-based multi-surface paint).
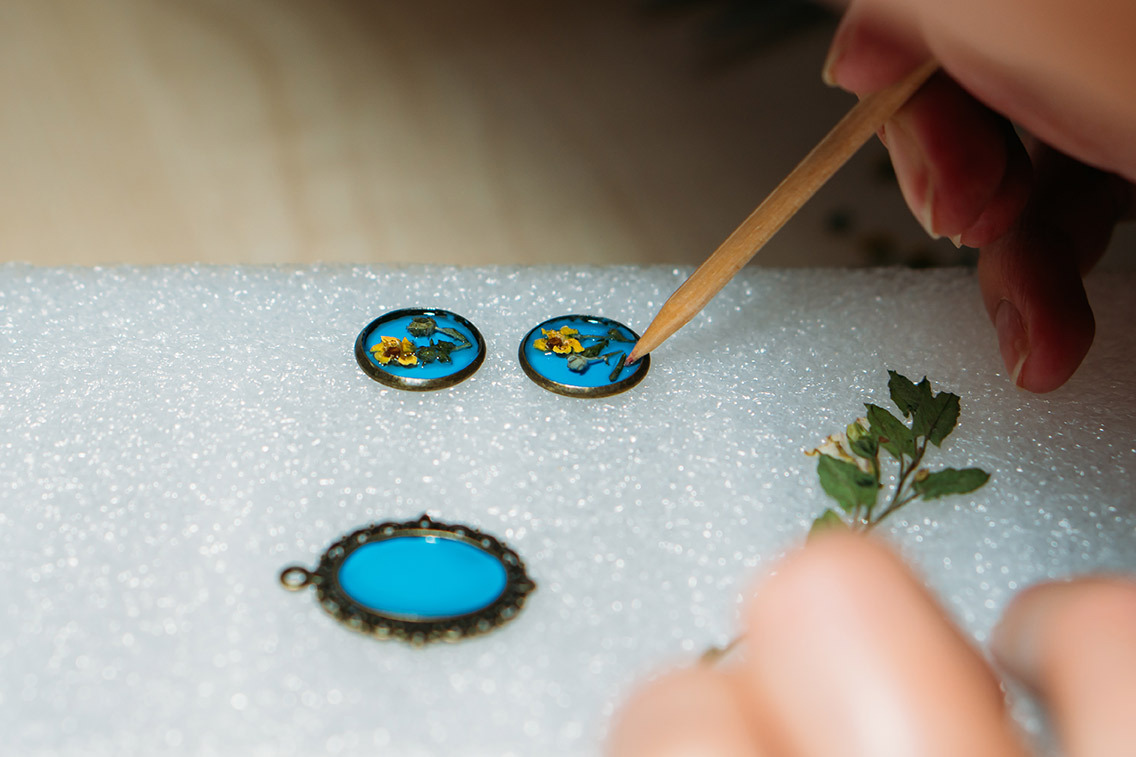
Step 4: Fill the mould
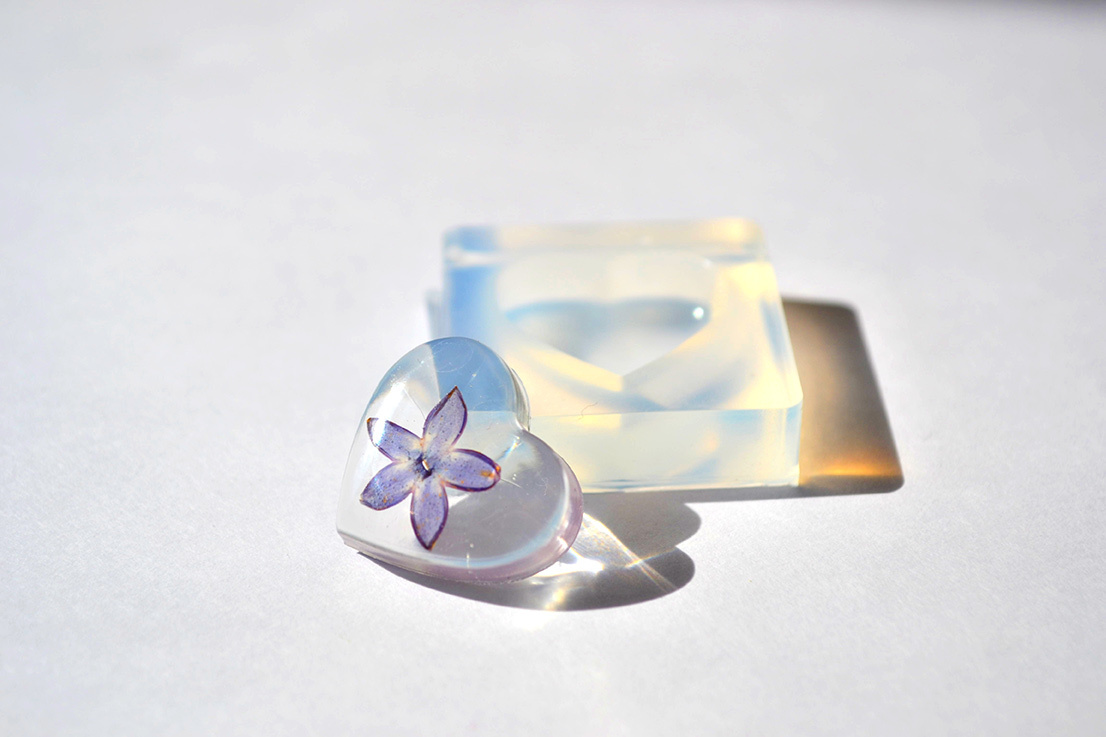
Now it’s time to get creative! Almost anything can be cured in resin, from candy to small leaves or flowers and yarn. My personal favourites are glitter and buttons, but you can let your imagination run wild here. Add your fillers to the mould and position them using tweezers.
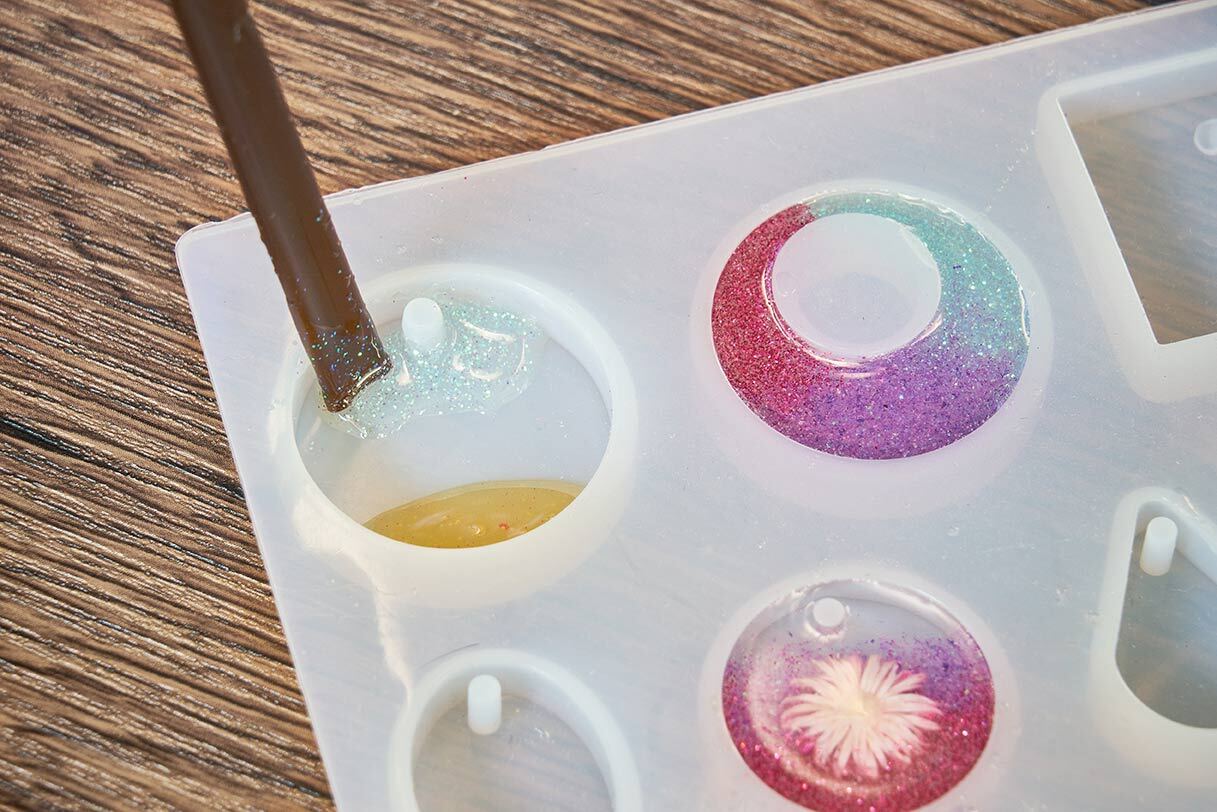
Step 5: Pour in the resin
For precise application, pour your resin into the moulds slowly, adjusting your fillers if necessary to make sure they remain in position. If any bubbles form, you can use toothpicks or heat from a blow dryer to pop them (and yes, doing that is every bit as satisfying as it sounds!).
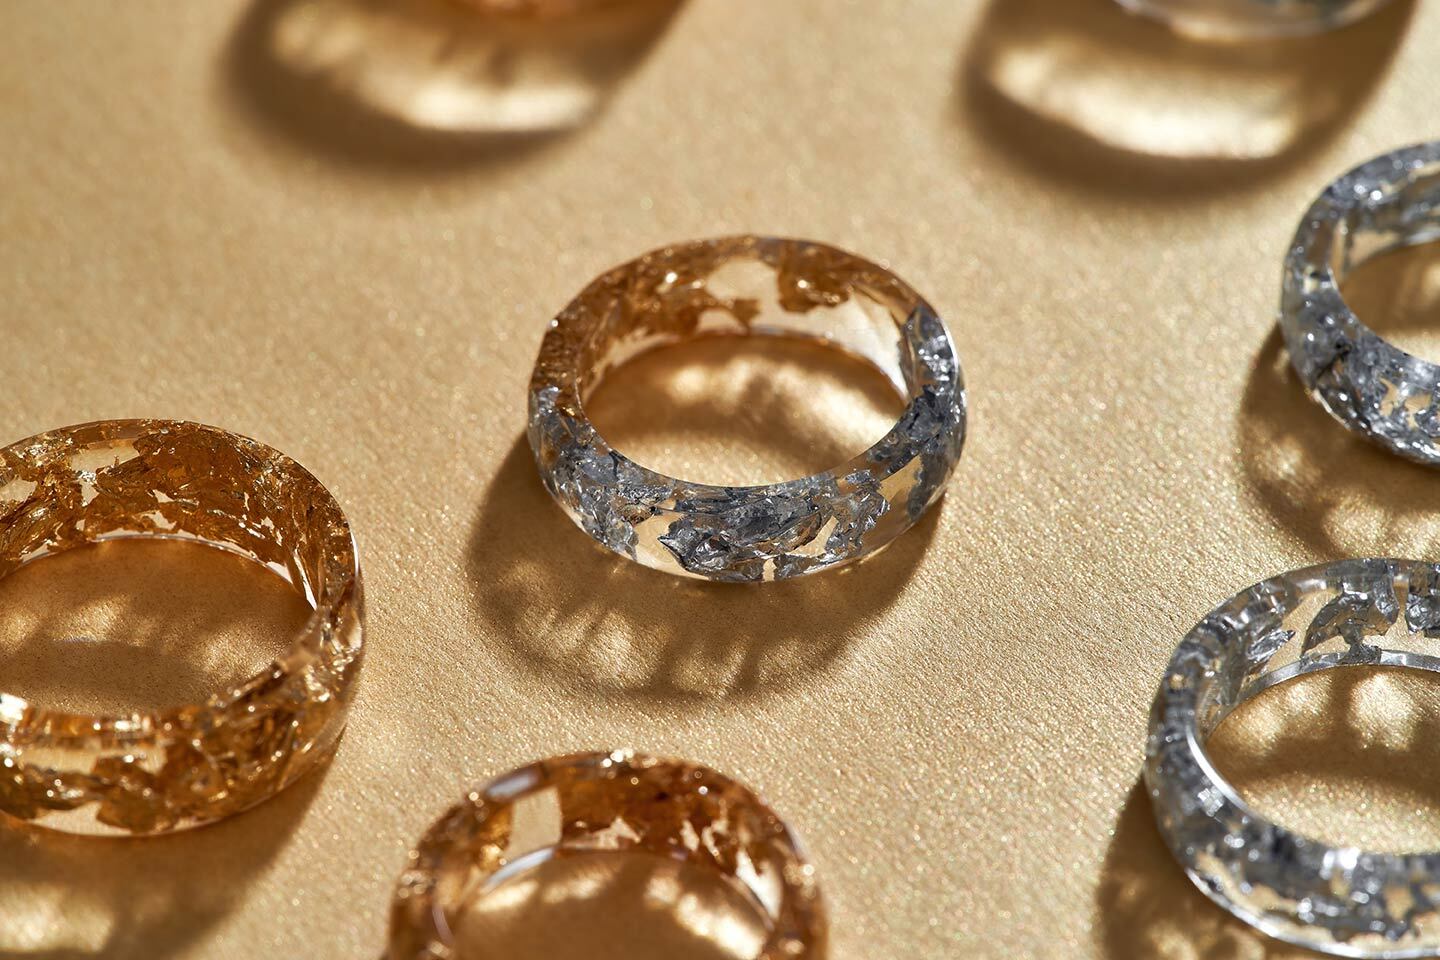
There are moulds for all types of jewellery: rings, pendants, earrings and bracelets. You could even make a customised keychain with the first letter of your name.

Step 6: Add finishing touches
After you have removed your objects from the moulds, you can sand them down to trim off any excess resin or get the perfect shape. You can then add your various jewellery findings such as earring posts, necklace chains, clasps and closures.
If you’re not really the DIY type or you don’t feel quite up to the task of making your bestie’s birthday present, we have a huge selection of resin jewellery as well as many other craft and jewellery items on bidorbuy.