
Are you familiar with the saying looks matter? This is a relevant statement for today’s topic: image editing. More specifically, we’ll talk about removing the background of an image to make a product stand out and look better.
In the ecommerce world, it is important to ensure that the images you use to showcase products are clear and focused. Clear images will show consumers exactly what they will receive if they decide to purchase your item. Also remember that images from a number of different angles can be beneficial to give the viewer some perspective.
One of the best ways to ensure your product images are appealing to the eye is to remove the background, so it does not distract visitors from the star of the show, that is, the product. There are many photo editing tools out there that can do the job of removing the background. In this blog post we’ll concentrate on three of them.
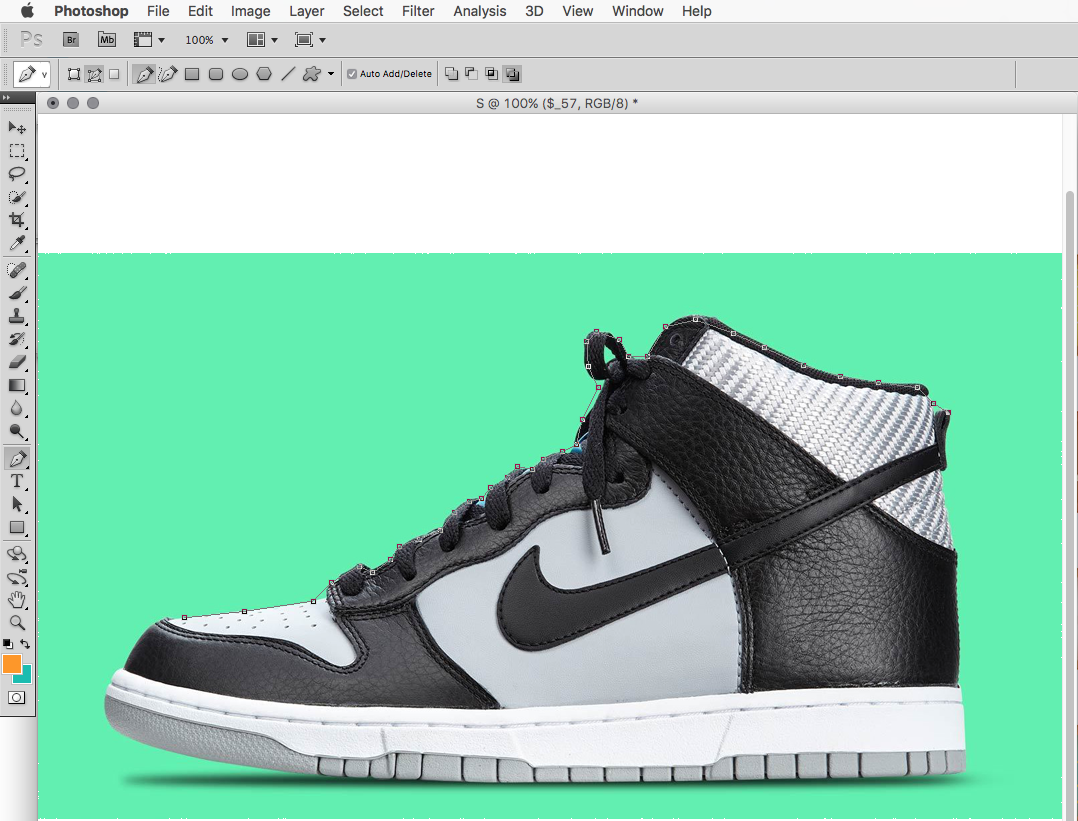
Adobe Photoshop
Photoshop is the first photo editing tool that usually comes to mind. The only downside is that Photoshop requires a subscription fee. However, depending on your needs, it may be worth the fee.
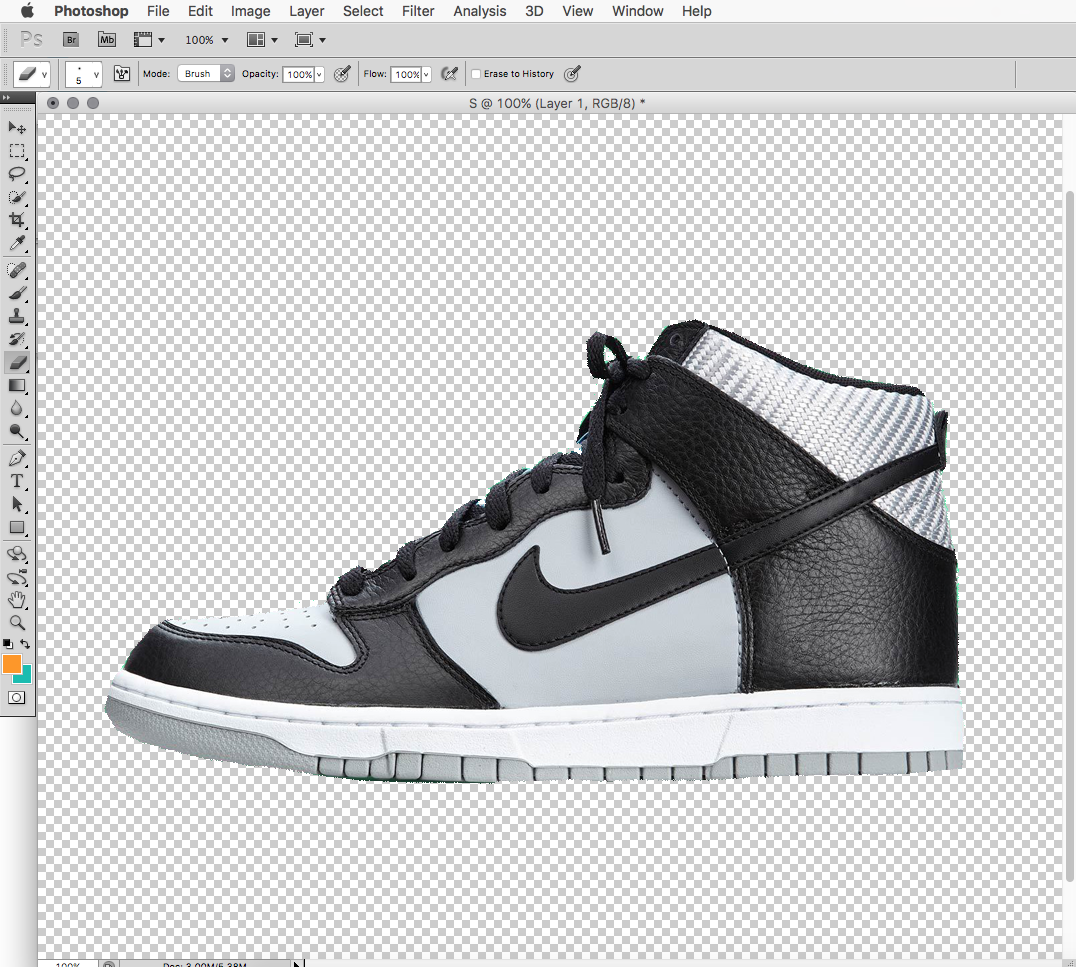
To delete the background in Photoshop, select the pen tool and click along the edges of the image or wherever you wish to separate the image from the background. Once you have created a complete loop and are back to where you started, you can right click and select “make selection”, making sure the feather radius is zero. Click on “‘ok”’ then punch in the letter “M” on your keyboard. Now you need to right click again and select “layer via copy”. You should notice that at the bottom of the right hand side panel, under “layers”, there is a version of your image without a background. Save the image and there you have it.
Paint.net
Pain.net is a free tool available for download online. It’s also very easy to use. The only downside is that Paint.net is designed for Windows operating system and is not compatible with Apple devices.
To delete the background of an image with Paint.net, follow these steps:
Open your image and select the “magic wand” tool from the toolbar. Now click anywhere on the background of your image. You will see an outline around the main image. The background is removed automatically. Once most of the background is gone, it would be wise to zoom in, especially on the corners and edges. If you find part of the background still attached to the image or uneven curves and sides, use the eraser tool to remove them.
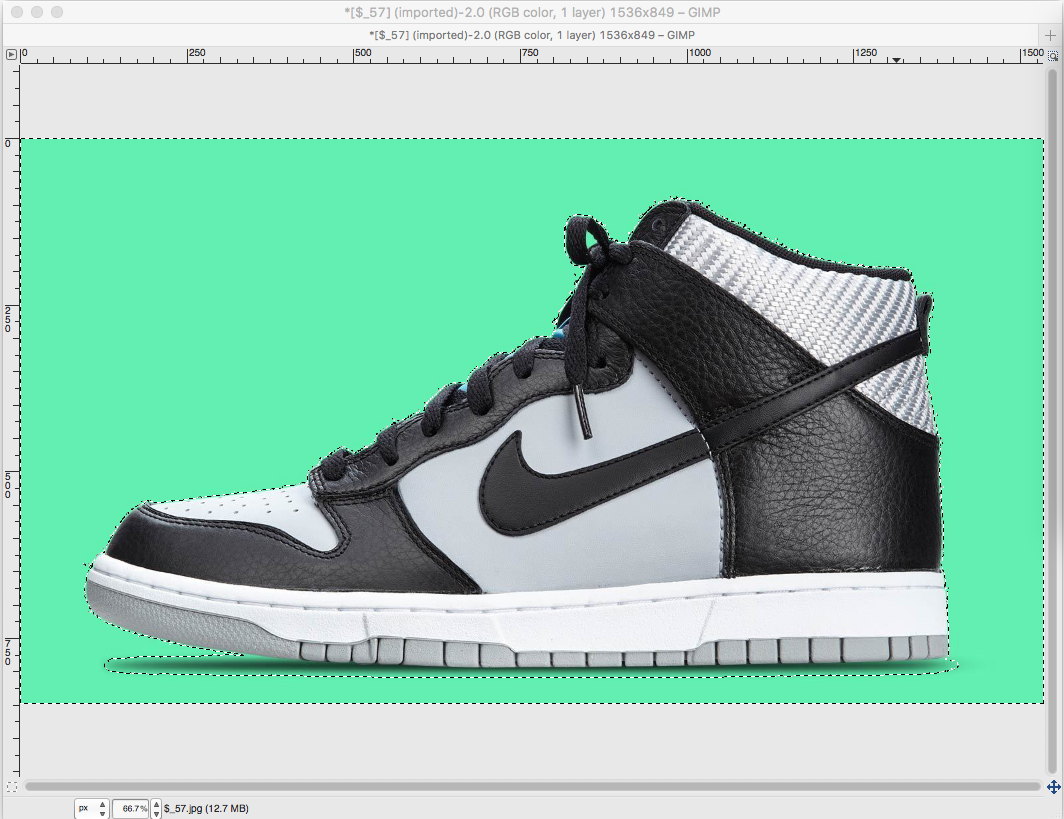
GIMP
GIMP is also free and easily available. It offers a variety of design and editing tools and is a very useful and powerful programme. It is compatible with both Windows and Mac operating devices.
The procedure for removing background of an image in GIMP involves selecting the “Fuzzy Select Tool” from the toolbox. This tool looks like a wand. Then simply select the background and delete it. Zoom in so that you can check around the edges of the image. If necessary, use the eraser tool to smooth out any rigid points or corners. Now you need to add in a transparent background. To do this, click on “layer”, “transparency” and then “add alpha channel”.
Any of these three tools will help you edit and perfect your product images in a few simple steps. After the second attempt you will surely be a pro! All you need to do is choose a programme suits your budget and your operating system.