 (And, sellers, banish those strips in your thumbnail images!)
It comes as no surprise. After the revamp of the home page and the category pages, the tide had to reach the item pages too.
We took it slowly and gradually, with the first renovation wave sweeping over Buy Now pages only. The Auction listings are to follow shortly.
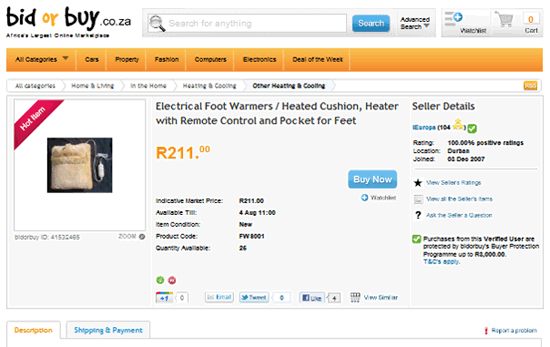
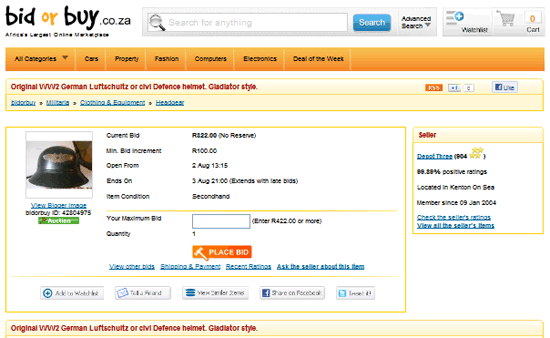
While the differences between the old and the new are both striking and subtle, an obvious effort has been made not to tumble things around too much. Actually, all the elements are more or less where you are accustomed to find them: the image thumbnail on the top left, the listing details in the middle, the seller’s information on the right…
The only difference is that with the new lick of paint everything looks airier and more inviting. Plus, the bidorbuy developers have introduced tabs, probably the single most important feature of the new-look item pages. Those tabs really do make the listings look less cluttered. Even more importantly, they make the information more accessible.
New item page:
Old item page:
Now it is up to bidorbuy sellers to do their bit to design their item pages well.
The first step would be to make the image destined for the thumbnail position square. Rather, make several images square, for in not too distant future the visitors to your page will be able to flip though three thumbnail images of your item! (And yes, as the border in the new-look item pages indicates, the new thumbnail images will be bigger than before, with measurements of 240 x 240 pixels).
But how do you change the proportions and make a rectangular image square if you do not have photo editing software?
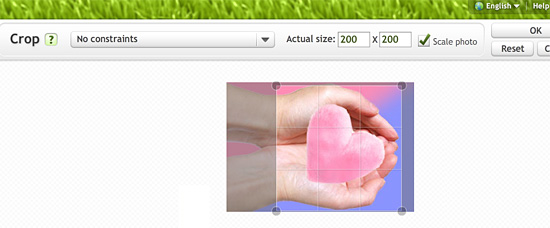
There are hundreds of free online photo editing programmes. We choose Picnik as one of the easiest for turning your rectangles into squares.
Here is how to do it:
- Go to Picnik
- Upload the image you want to re-proportion
- Click on Crop
- Tick Scale photo box
- Enter the desired horizontal size and the same vertical size (recommended: up to 450 x 450 pixels)
- Click OK
- Click Save (remember to add .jpg after the file name when saving your square image)
And there you are! Now that you know how to do it, you have no excuse to still show the world thumbnail images with those ugly empty strips on the top and bottom or on the left and right!

