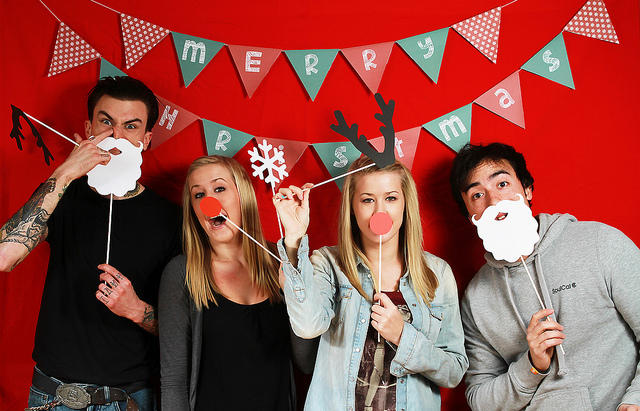
It’s nearly Christmas, which means it’s time to eat, party, celebrate and sleep! If you want to add some fun to Christmas and make it even more festive than what it already is, why not create your very own Christmas photo booth? This blog post will give you a quick guide to creating an awesome photo booth you can share and enjoy with your family. The fun lies not only in using the photo booth, but also in creating it. Let’s get cracking!
Step 1. First you need to choose a background. Bear in mind that you will need enough space for a bunch of people to move around easily and comfortably. This is how to go about it:
- Find a blank wall that you can use.
- If you want your background to be a specific colour, get large pieces of cardboard to stick on the wall (either one solid colour or cardboard with Christmas decorations). You will need about three A3 pieces of cardboard.
- Another alternative is to use any leftover fabric you have at home (colours like gold, white, red or green are suitable for the Christmas theme). Fabric pieces can be hung on paintings or cupboards in the house.
Step 2. Now you need to get all your props. You can either buy them ready-made or you can make them yourself. Making the props yourself can be a fun project the whole family can do together. I am going to show you the easy and simple way of making cute photo booth props.
What you need:
- Cardboard
- Scissors
- Wooden skewers
- Craft decorations
- Craft glue
- Cellotape
How to do it:
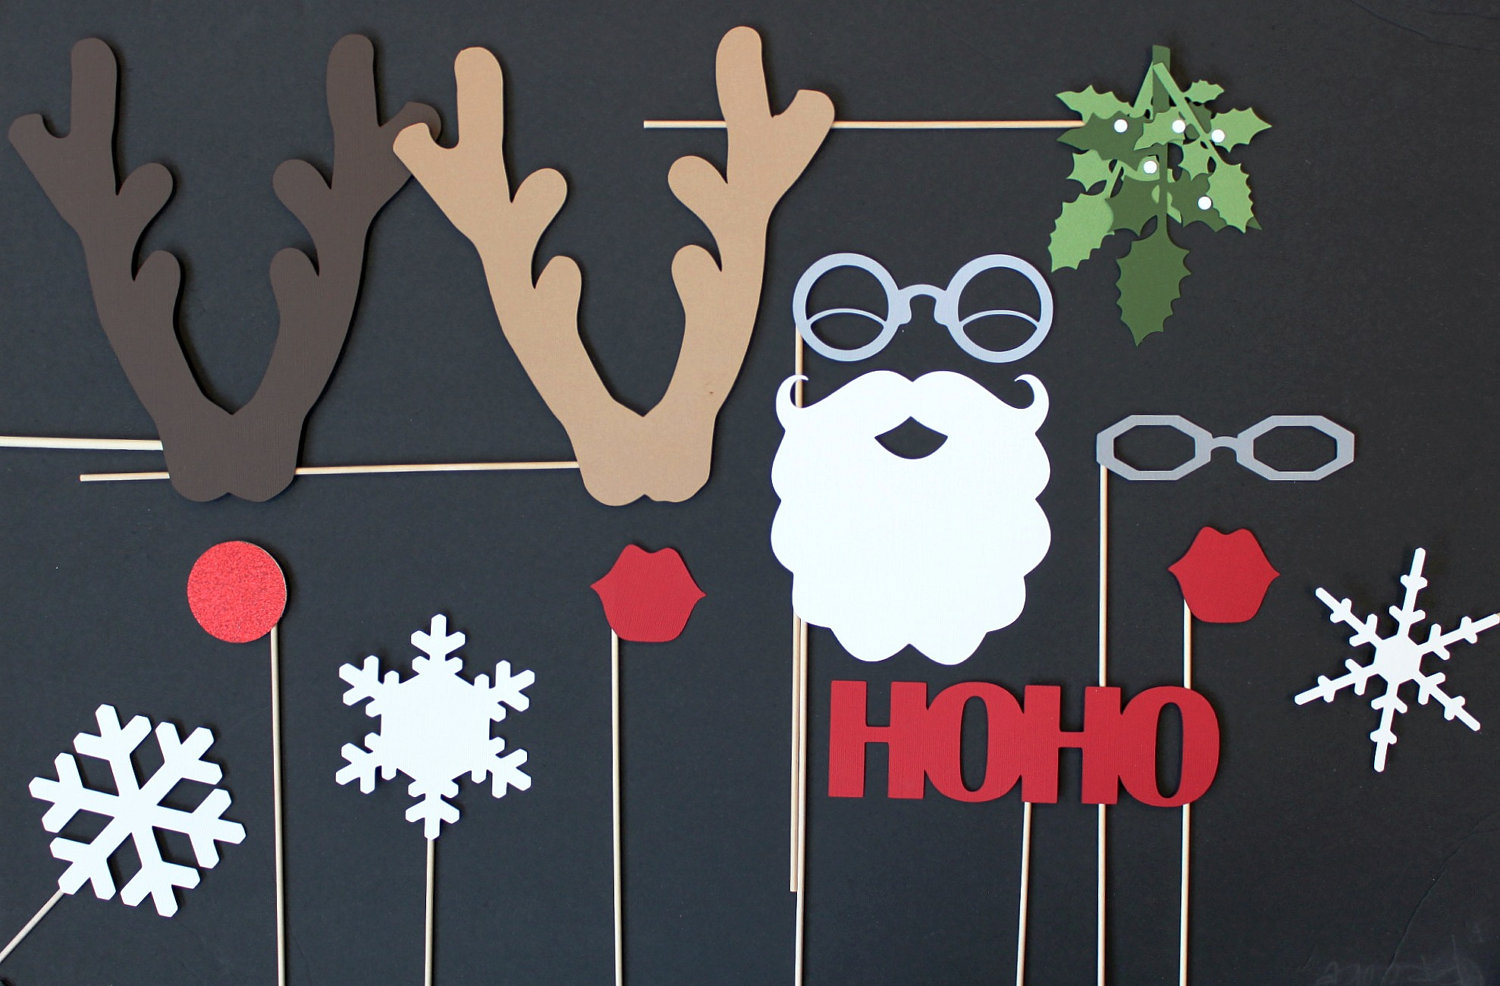
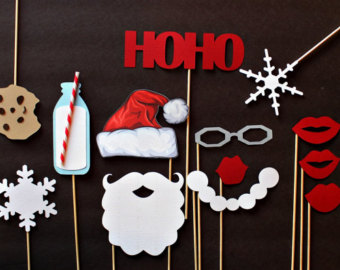 Choose and print various images that you like and that look Christmasy (things like a Christmas tree, Christmas hat, reindeer horns, Santa’s hat, elf ears, presents, etc.) Tip! Print them on cardboard, or glue your ordinary paper printouts onto a cardboard, because your props need to be strong and sturdy to prevent them from bending.
- Now you need to cut them out. Buy a craft knife to help you cut out small areas that are hard to reach with a normal pair of scissors.
- It’s time to get creative! Get out all your crafty decorations and get sticking. Here are some ideas of decorations you could use: glitter glue, googly eyes, tinsel and coloured pens. (Use craft glue to stick them down). And go crazy, this is your time to get your creative juices flowing!
- Once your decorations have all dried, you need to take a skewer and attach it to the back of each prop with cellotape.
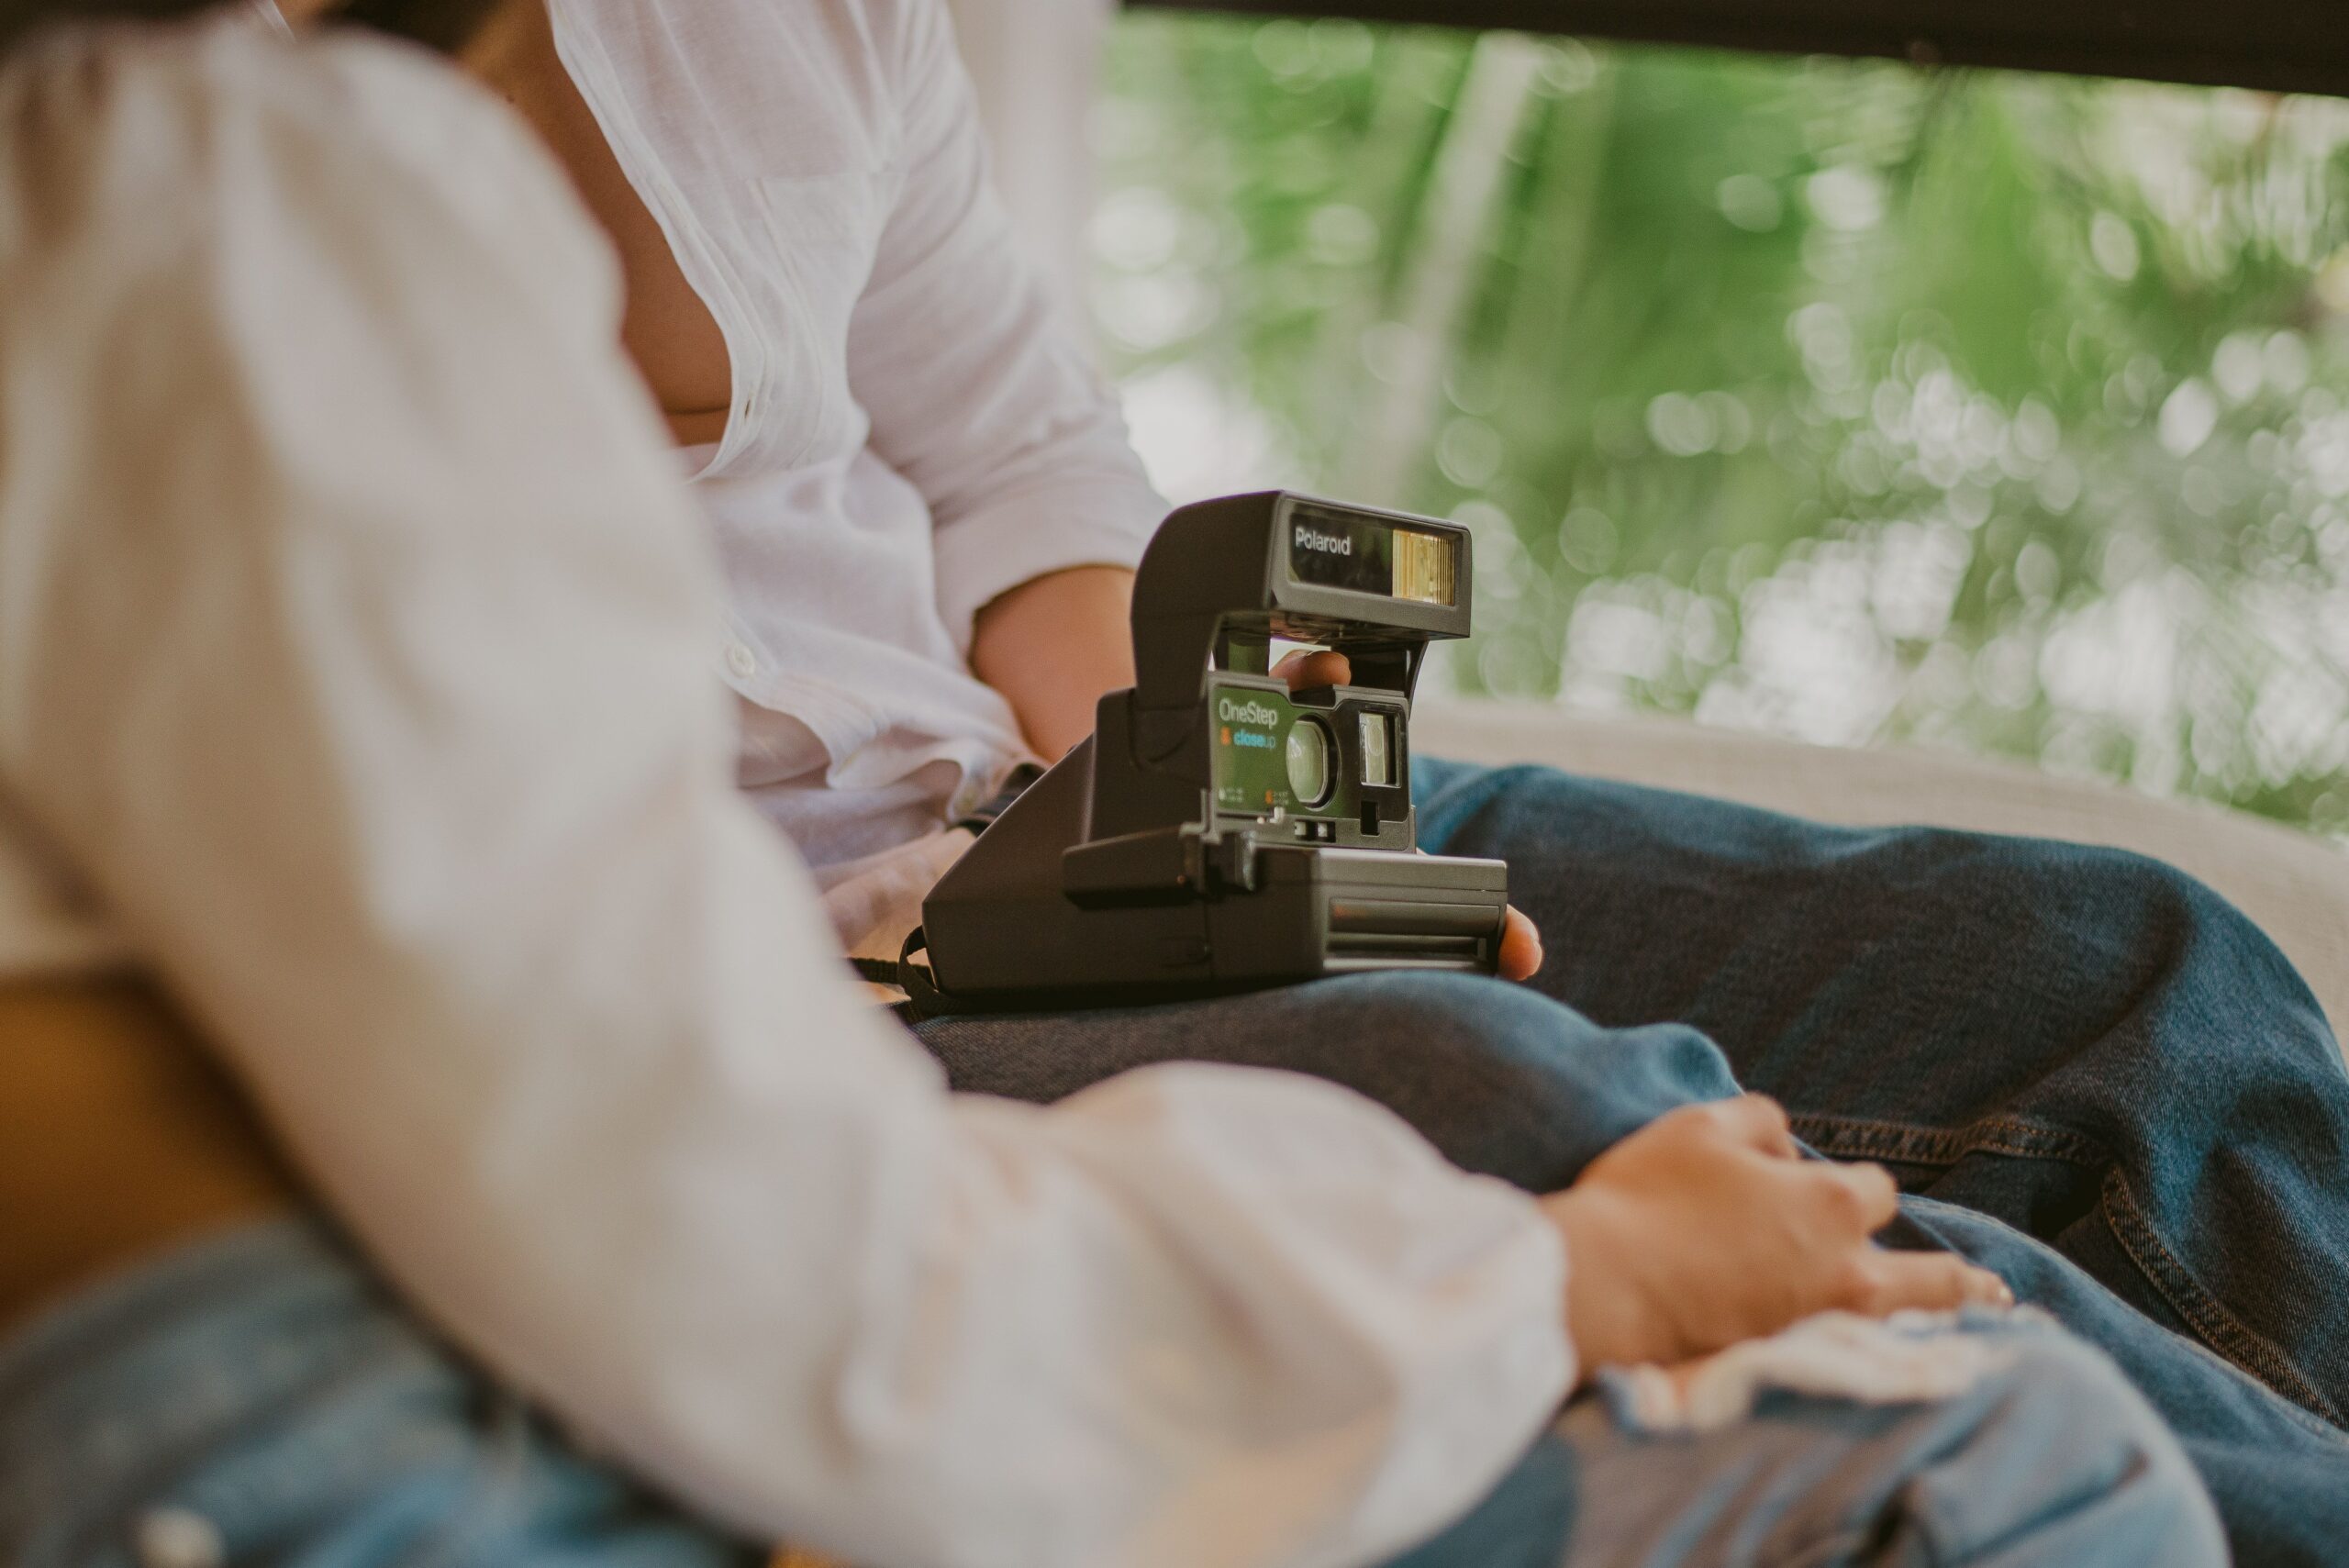
Step 3. Now you need to find a designated photographer who can take the photos all night, or you can take turns among yourselves. An even better idea is to get a selfie stick so that everyone can be in the picture.
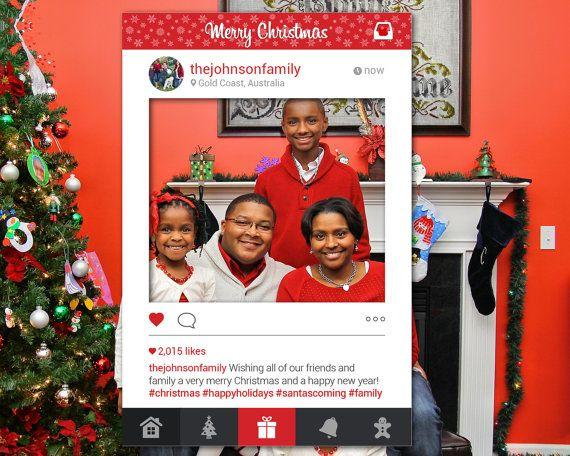
Step 4. If you are feeling extra adventurous and creative, you can make your very own photo booth frame. You will need a large piece of corrugated white board (size: 43 cm high and 36 cm wide). Using a craft knife, cut a square (size: 3 cm from the top, right and left; 10 cm from the bottom) You can decorate it or paint it any way you like or even leave it white. If you want to give it some colour without too much effort, spray paint it.
Just like that, your photo booth is ready to provide you with even more fun than you had making it! Wishing you a happy festive season! 🙂