Most people think antique restoration means stripping away all character. The truth is, revamping antiques can bring out their soul with simple steps you can do yourself. If you want to turn your old pieces into stunning focal points, this guide on DIY antique decor and upcycling antiques will show you how to make your home truly unique.
The hidden value in antiques
Antiques tell stories that new items simply can’t match. When you take on an antique furniture makeover, you’re not just saving money – you’re keeping history alive! Those scratches and worn edges? They’re character marks that show your piece has been loved and used for generations.

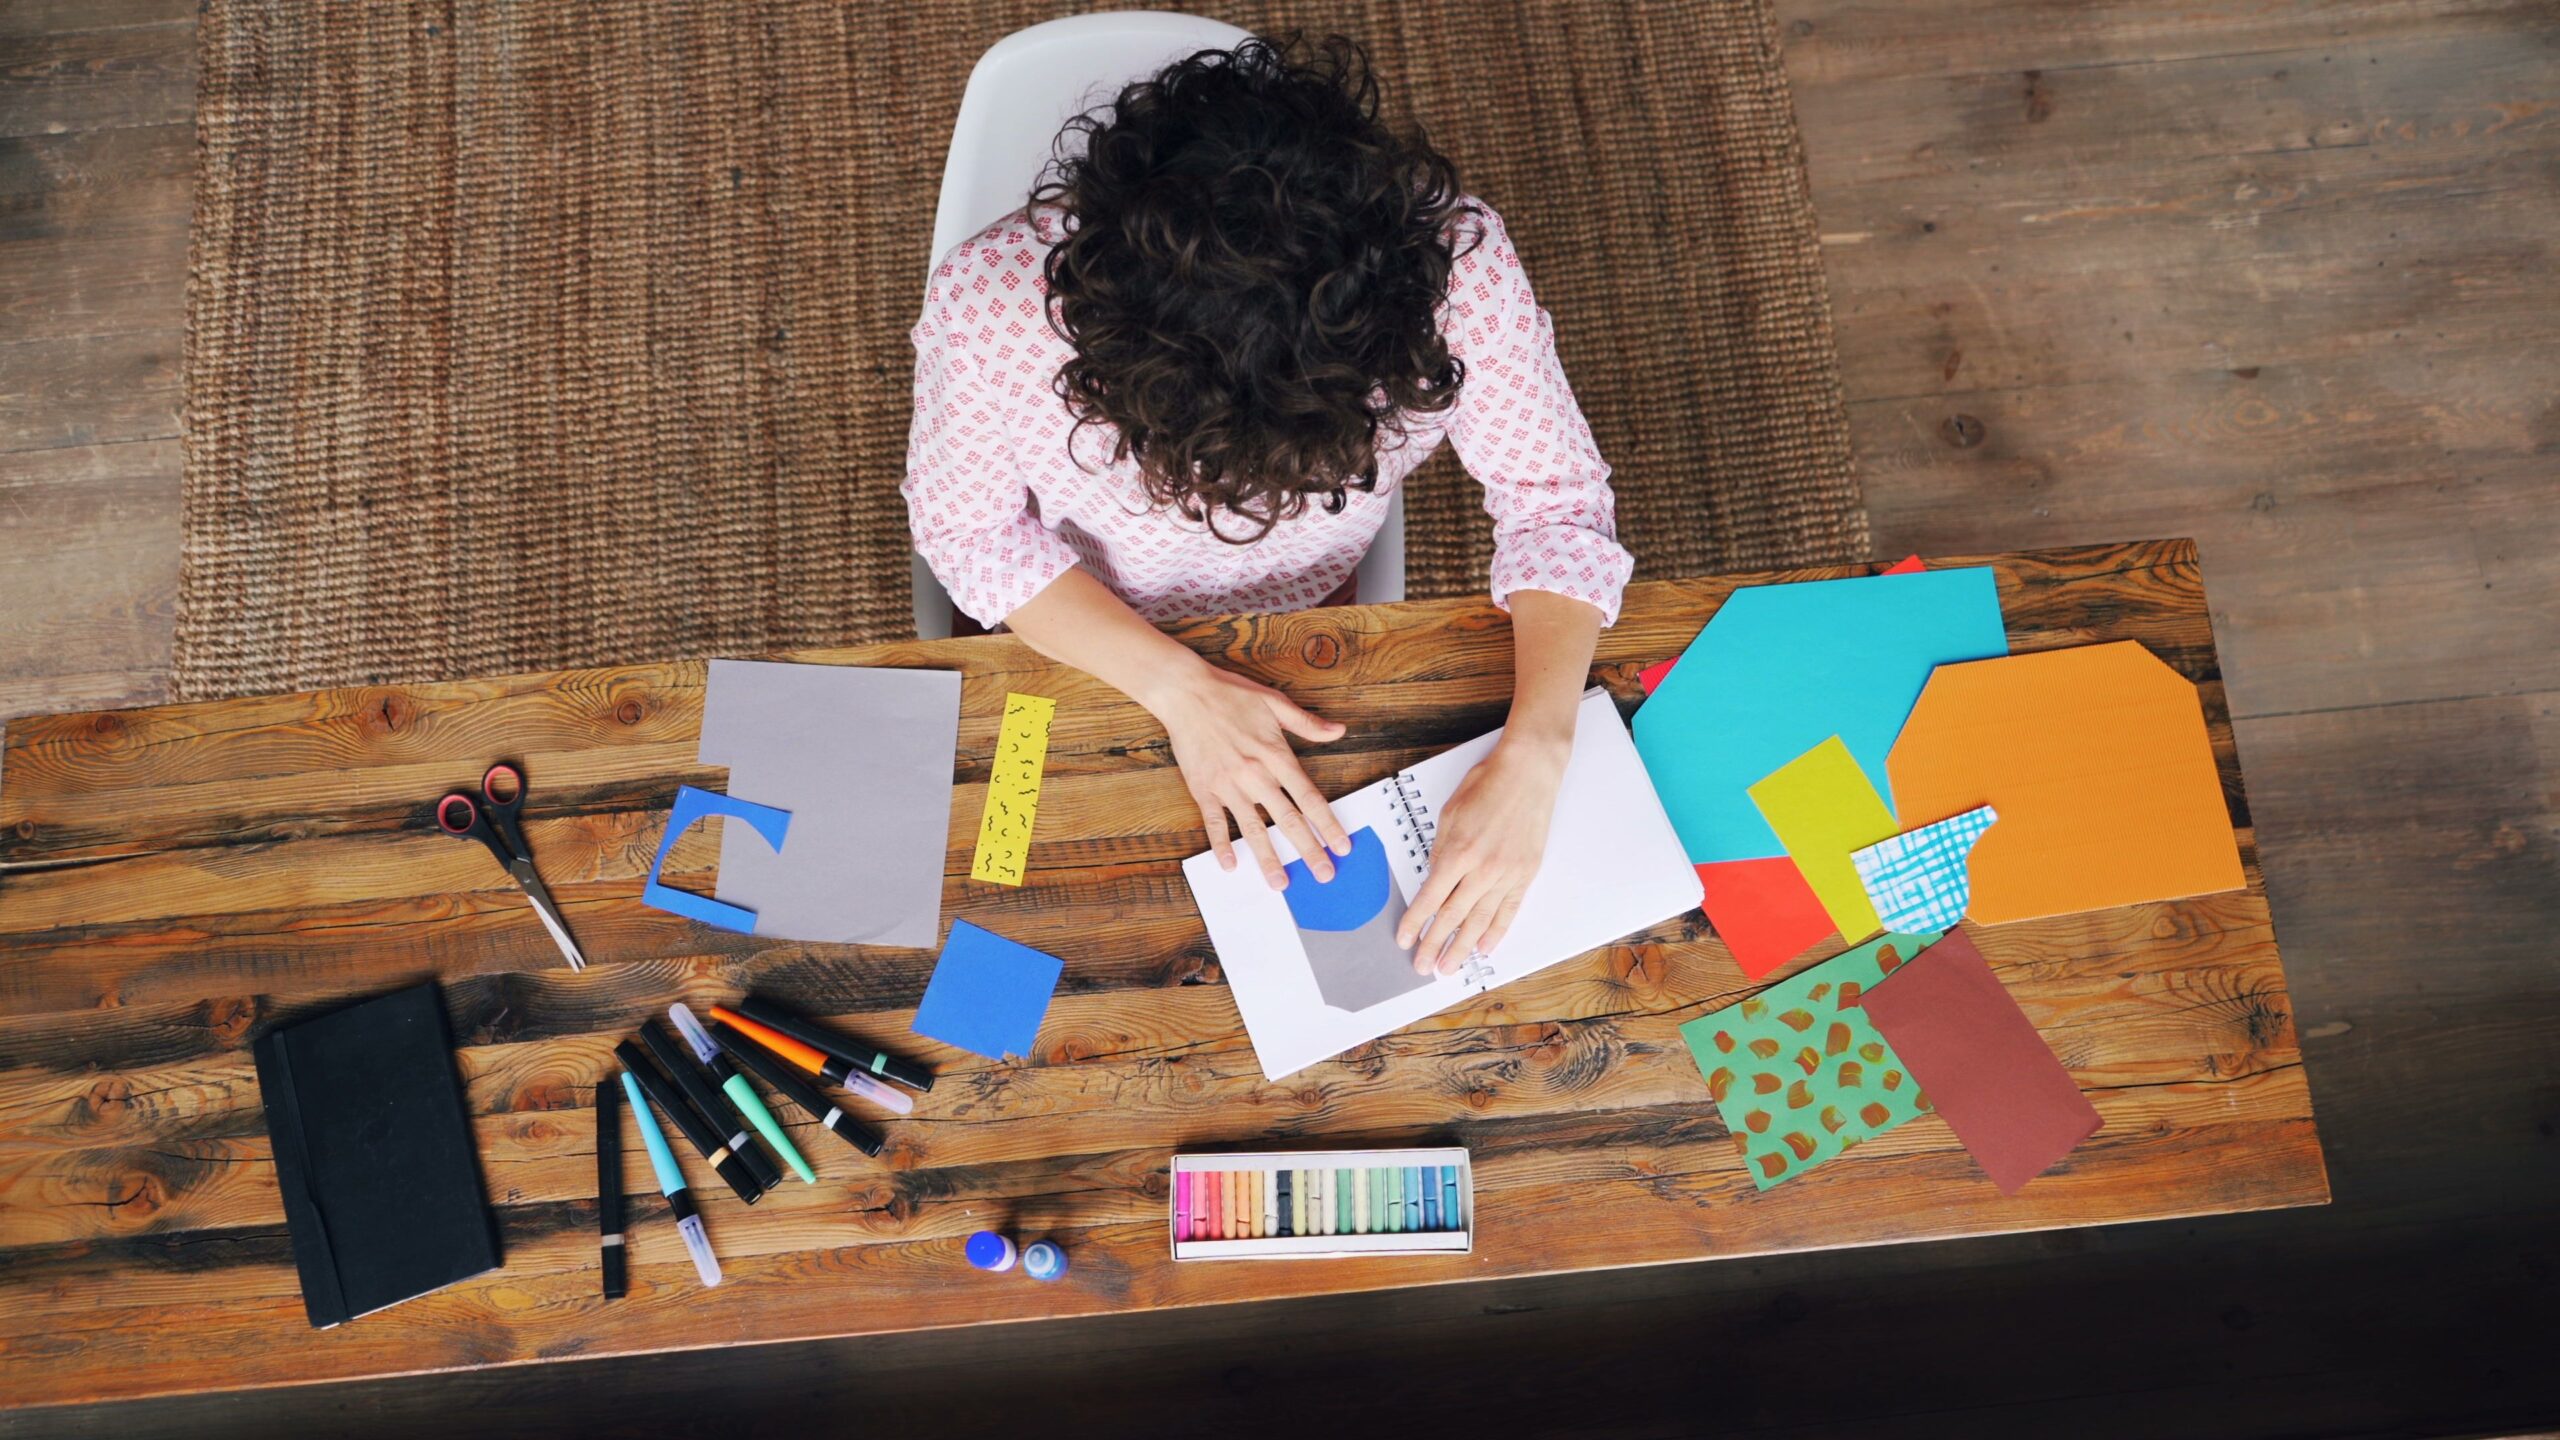
Image courtesy of Csongor Kemény. Published on: February 5th, 2020. Source: pexels.com
Getting started with antique restoration
Basic tools you’ll need:
Let’s keep this simple! For most DIY antique decor projects, you’ll want:
- Clean cloths
- Fine sandpaper (220-grit or higher)
- Wood cleaner
- Quality paintbrushes
- Primer
- Paint or stain
- Clear sealer
- Screwdriver for removing hardware
Nothing fancy required! Most of these items are probably already in your garage or can be found at any hardware store.
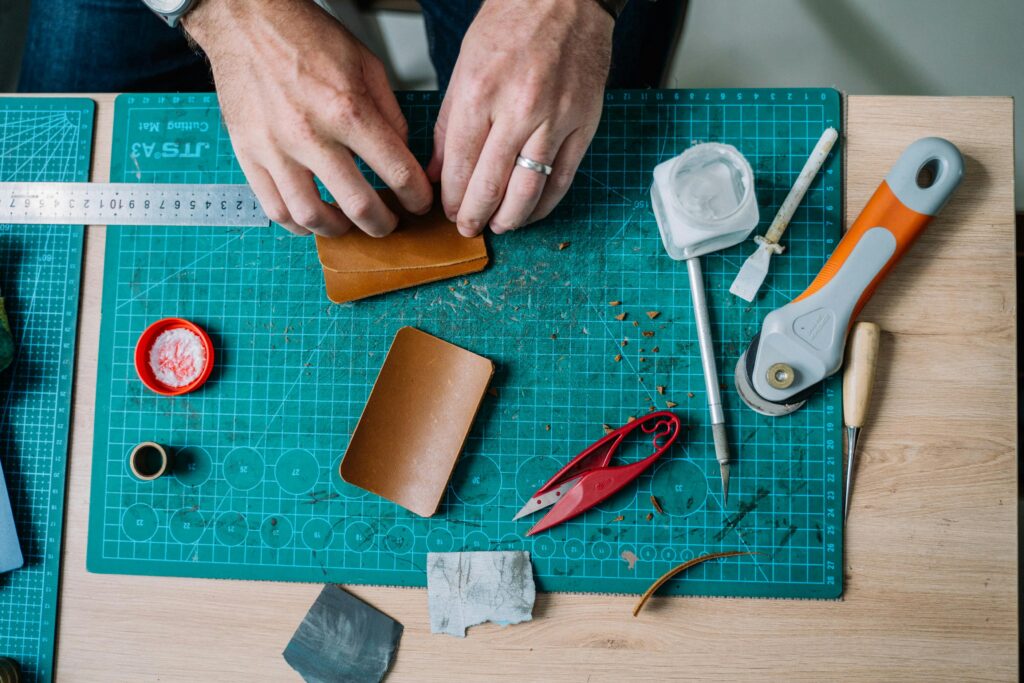
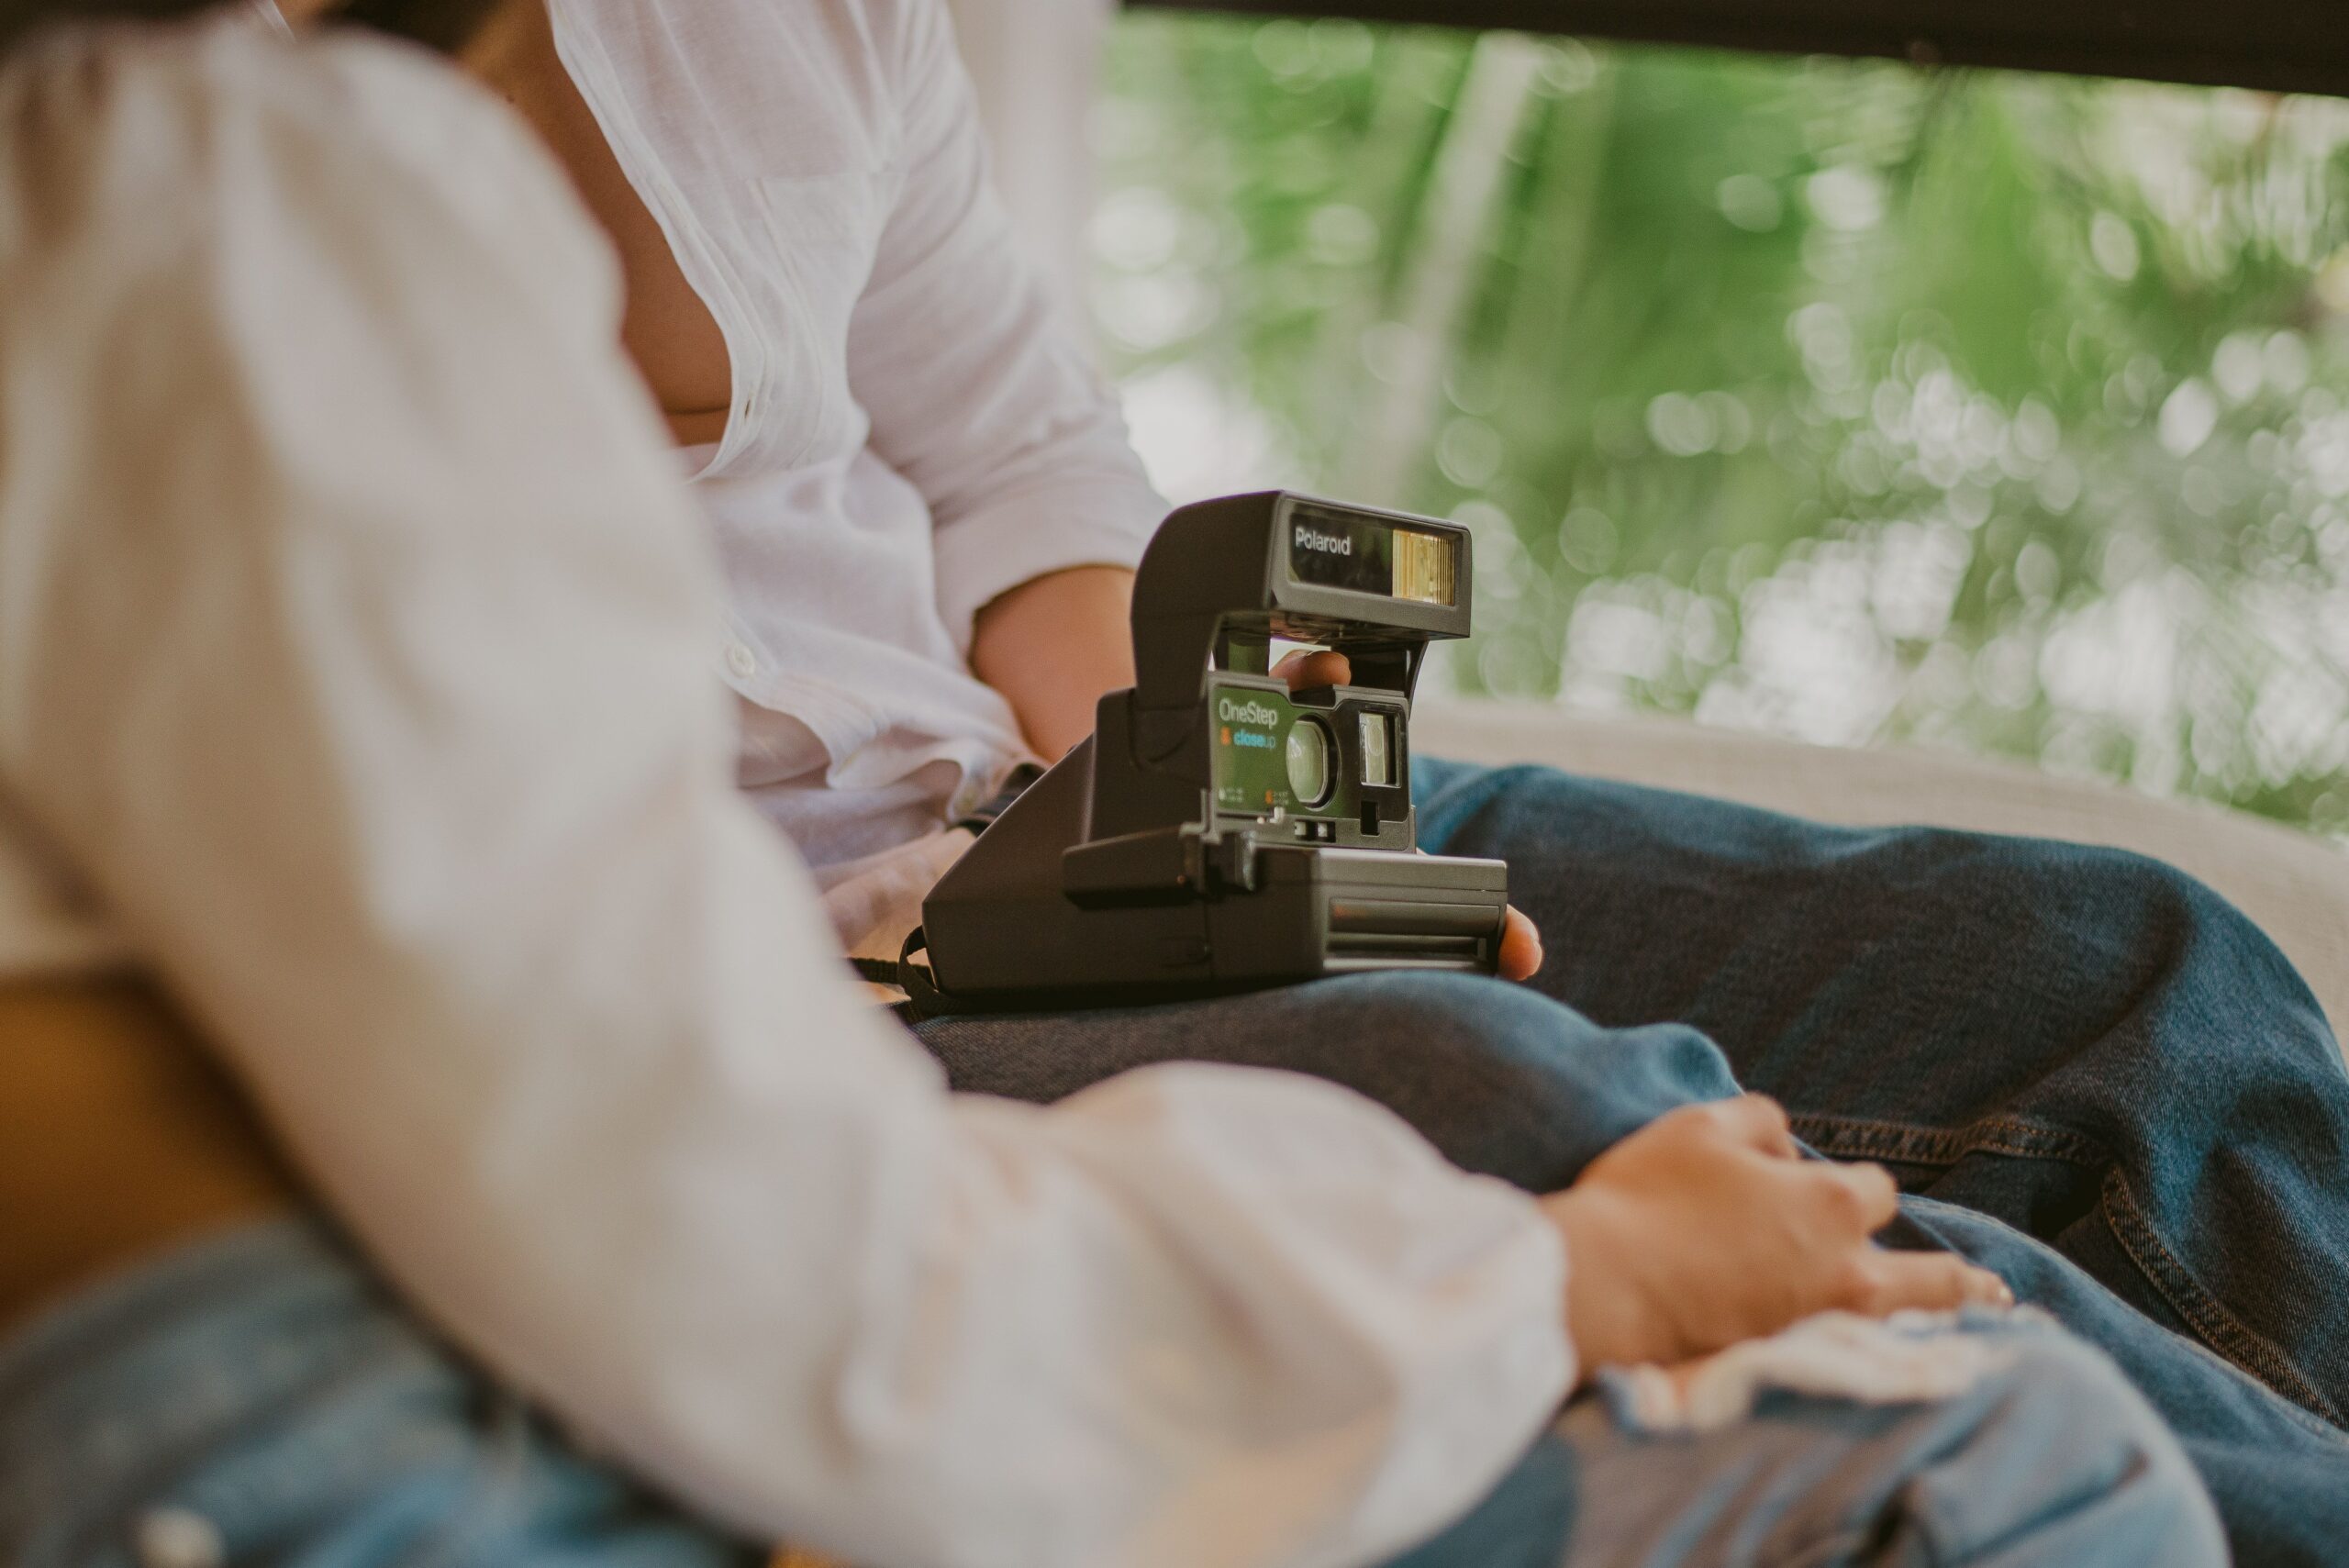
Image courtesy of Anna Tarazevich. Published on: November 23rd, 2020. Source: pexels.com
Quick wins for revamping antiques
- Clean and polish first
Before making any big changes, try a good cleaning. You might be amazed how much beauty is hiding under years of grime! Mix a gentle solution of warm water and mild soap, wipe down the piece, then dry thoroughly. For wood pieces, follow with a quality furniture polish or oil.
- Hardware refresh
One of the fastest ways to transform an antique is changing or restoring the hardware. Those handles, knobs, and hinges can make a huge difference! Try soaking old metal hardware in vinegar overnight to remove tarnish, or simply replace with new pieces that match your style.

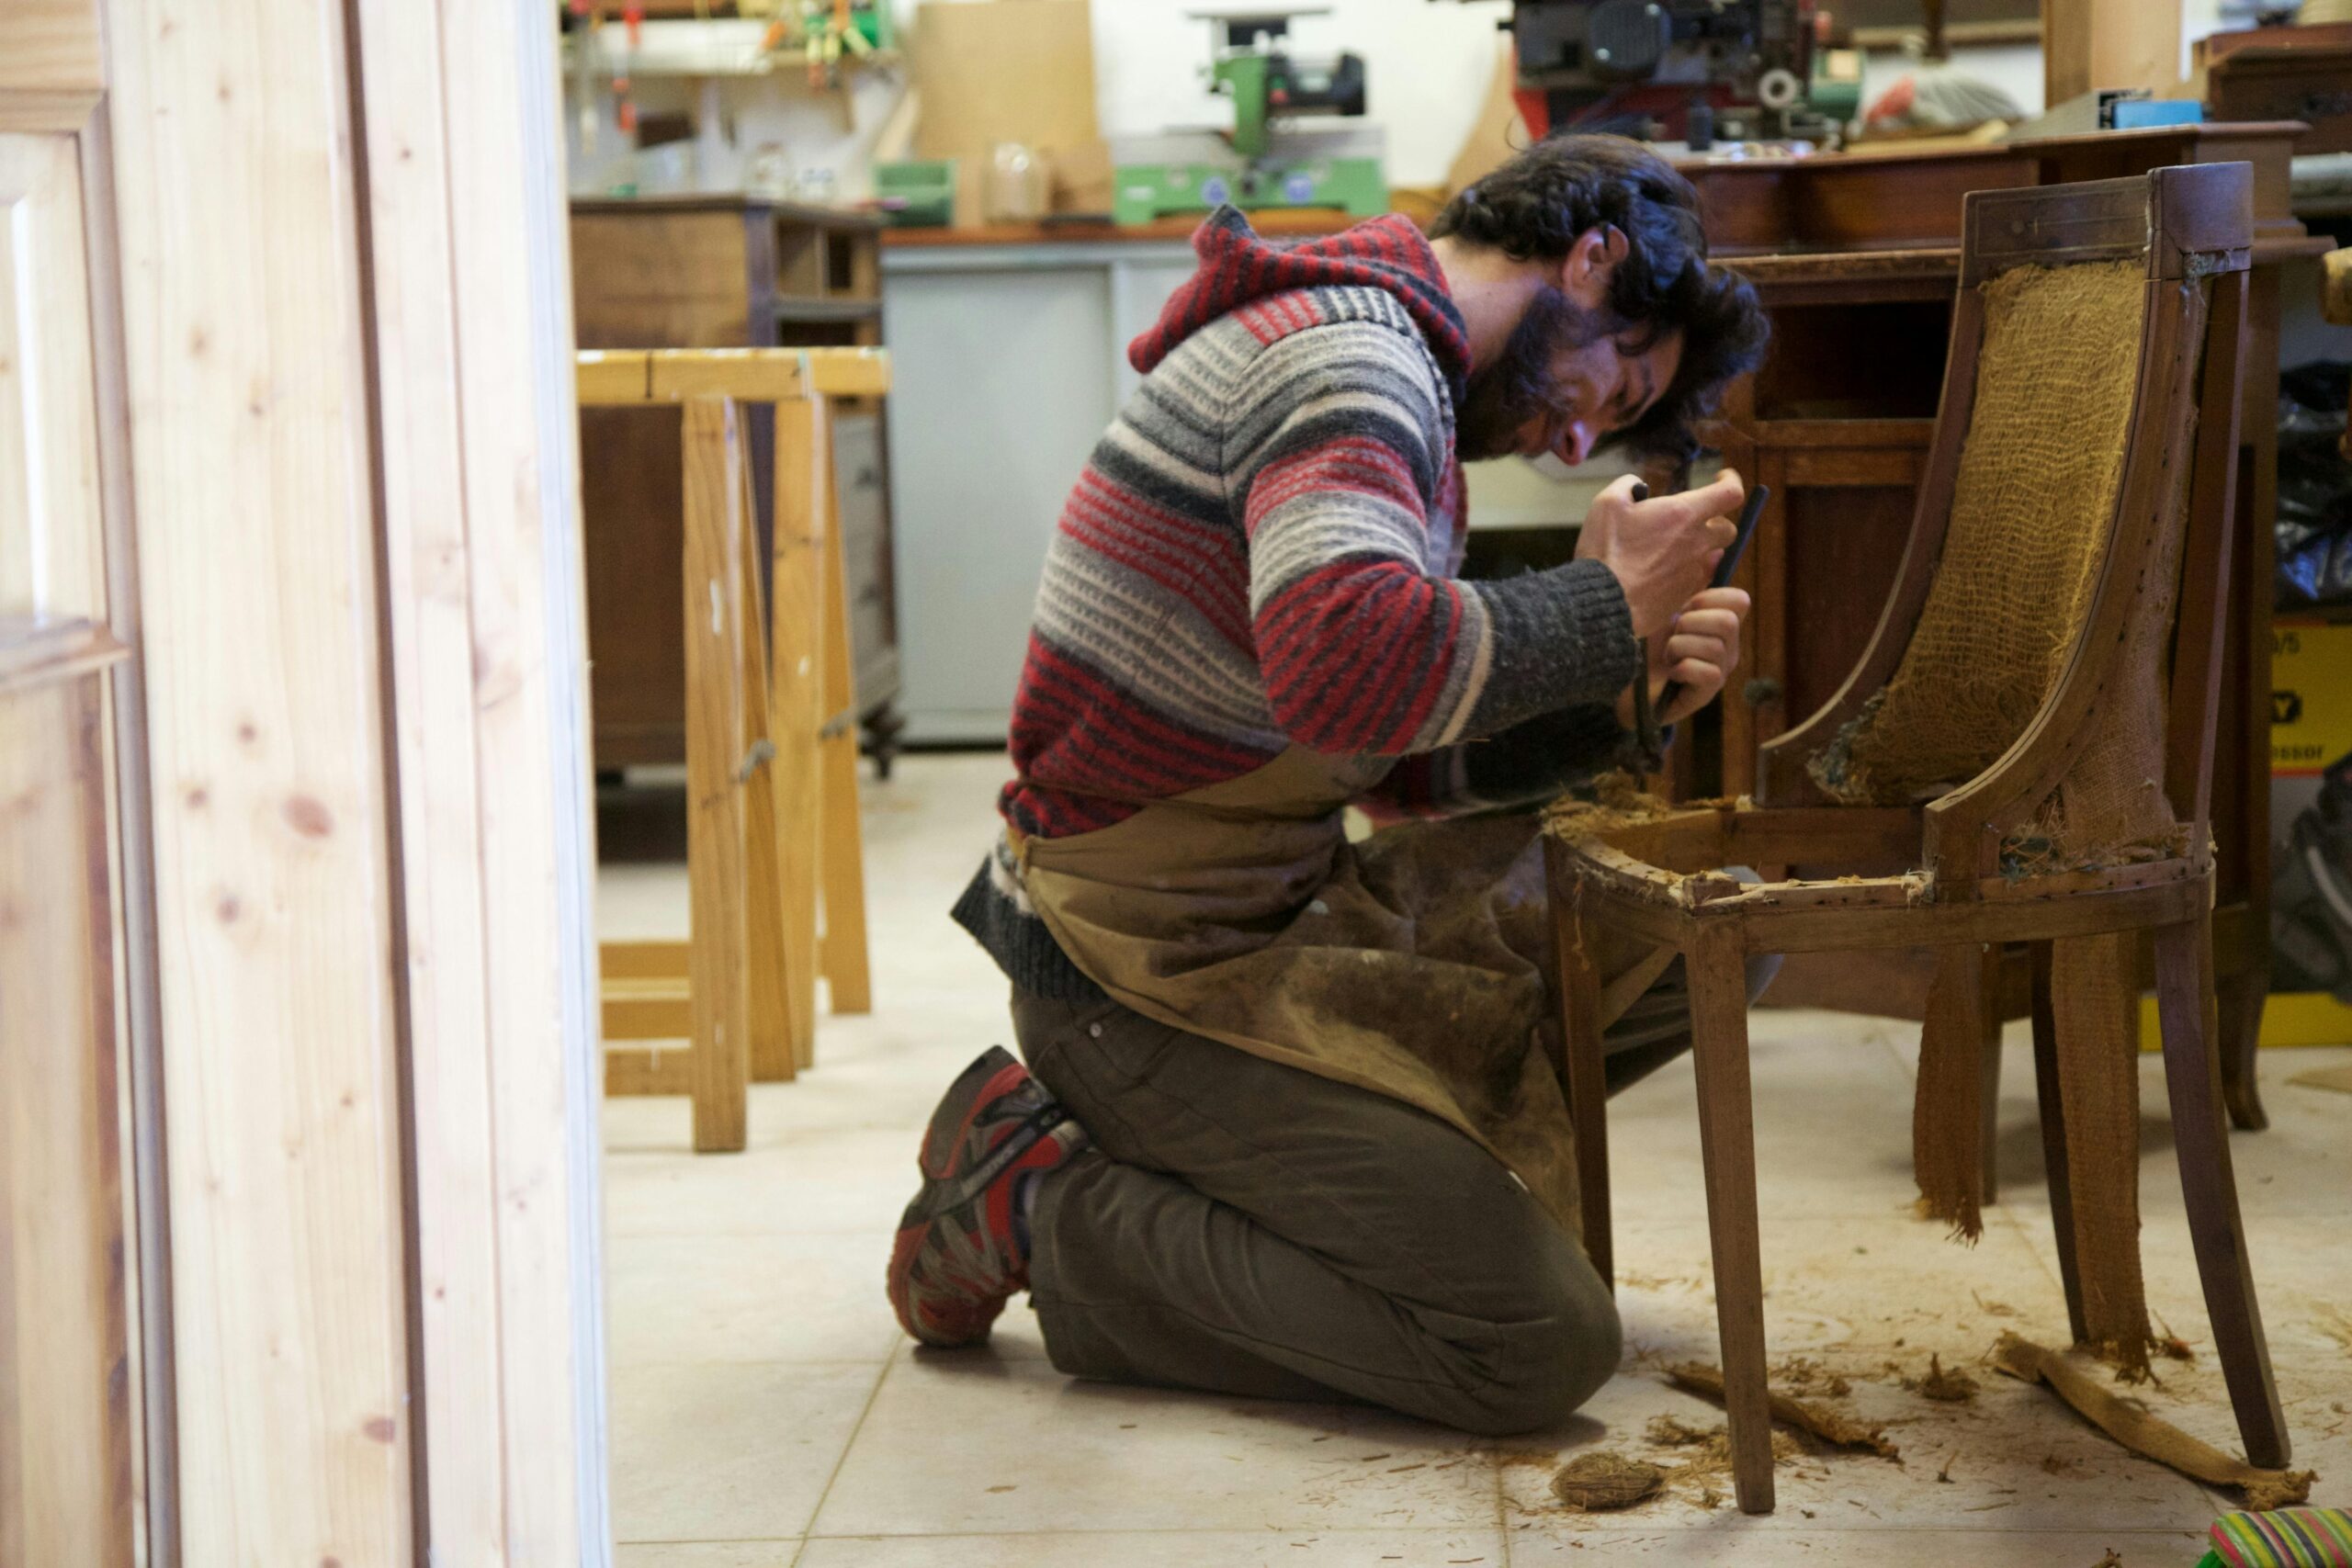
Image courtesy of Julian Hochgesang. Published on: December 13th, 2018. Source: unsplash.com
Paint techniques for upcycling antiques
- Distressed finish
Want that shabby-chic look? After painting your piece, lightly sand edges and corners where natural wear occurs. This creates a worn, loved look that highlights the age of your antique while giving it fresh colour.
- Colour blocking
Not ready to paint the whole piece? Try painting just the drawers or legs for a modern twist on your antique. This technique keeps the original wood visible while adding personality.
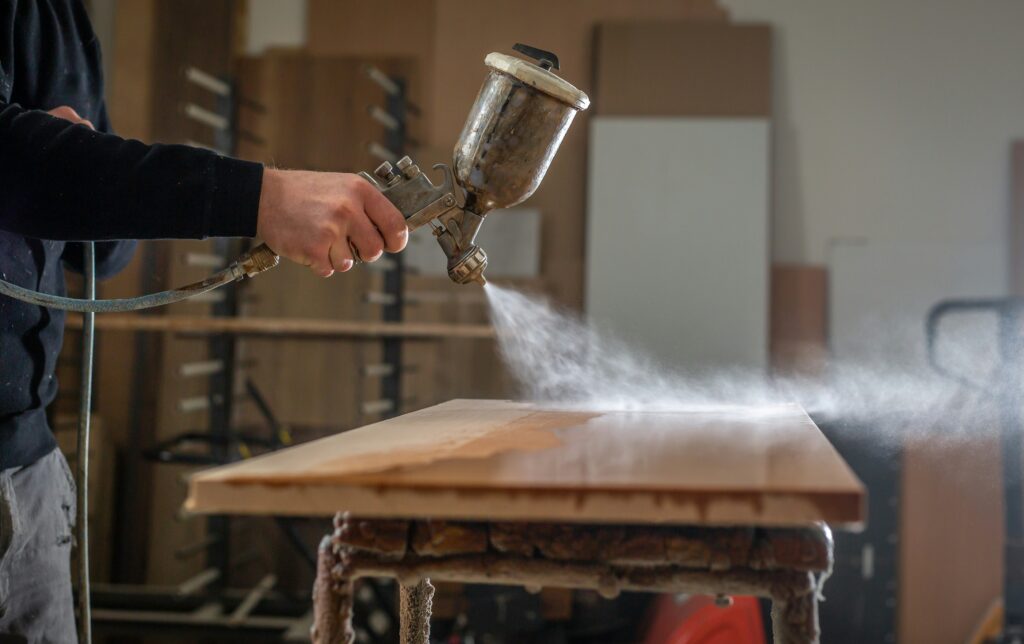
Image courtesy of Simon Kadula. Published on: March 16th, 2022. Source: unsplash.com
Repurposing ideas
New functions for old pieces
Upcycling antiques often means giving them new jobs:
- Turn an old dresser into a bathroom vanity
- Convert a sewing table into a desk
- Use an antique ladder as a bookshelf
- Transform a trunk into a coffee table
The best antique furniture makeover projects honour the original piece while making it useful for today’s lifestyle.

Image courtesy of Ratapan Anantawat. Published on: April 30th, 2020. Source: unsplash.com
Protecting your work
After all your hard work revamping antiques, protect the finish! Apply a clear coat sealer appropriate for your project. For painted pieces, water-based polyurethane works well. For stained wood, try paste wax or oil-based poly for a rich finish.
Start small, think big
If you’re new to DIY antique decor, begin with a simple project like a small sidetable or picture frame. As you build confidence, you can tackle larger pieces like cabinets or dining tables.
Remember, the goal of antique restoration isn’t perfection – it’s bringing out the unique beauty and extending the life of pieces with history. Your home will thank you with one-of-a-kind charm that no big box store can match!
Happy upcycling!
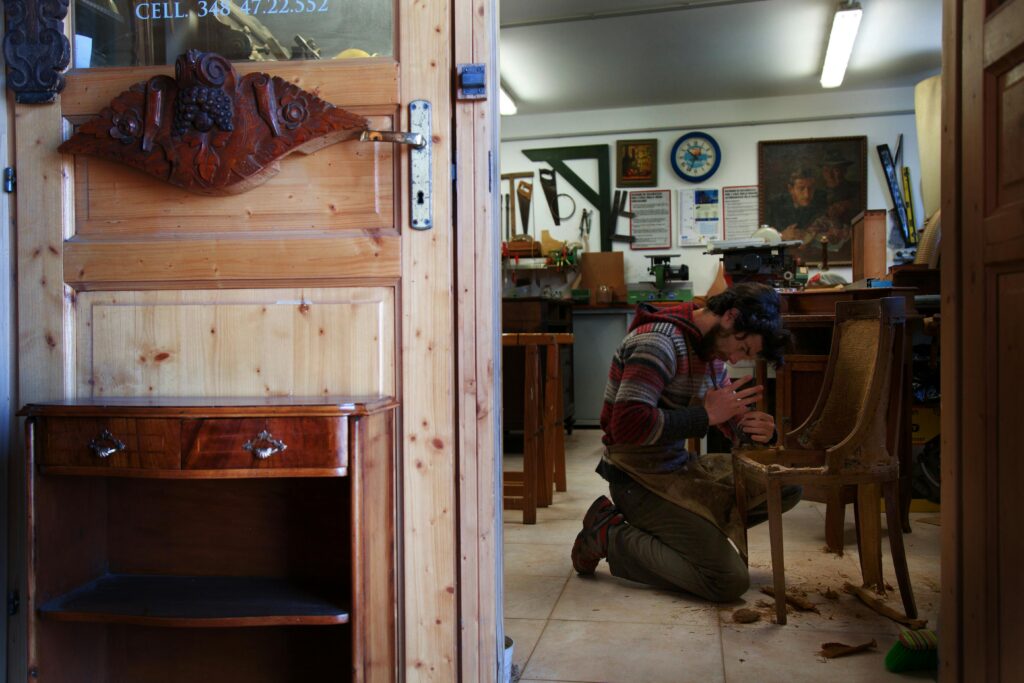
Image courtesy of jose miguel. Published on: April 10th, 2025. Source: pexels.com