Spring is the perfect time to give your home a makeover with some often-overlooked cleaning tasks. While most of us are content to do just the usual day-to-day chores, there are a few forgotten jobs that can truly transform your living space into a sparkling haven.
From overlooked corners to sneaky spots that accumulate dust and grime, these spring cleaning tips will make your home feel more organised and inviting. So grab your cleaning supplies and get ready to take on these forgotten spring-cleaning tasks.

Image courtesy of SHVETS production. Published on: April 15th, 2021. Source: pexels.com
1. Clean behind appliances
Moving and cleaning behind large appliances is a task many of us (choose to) overlook, but these hidden areas can collect dust, crumbs, and even small lost items over time.
Start by carefully pulling out your refrigerator, stove, and washing machine. Use a vacuum or broom to remove loose debris, then wipe down the walls and floor with a suitable cleaner.
Don’t forget to clean the coils at the back of your refrigerator. This not only improves hygiene but can also potentially lower your energy bills by making your fridge run more efficiently.
Remember to check for any signs of water damage or pest activity – early detection can prevent more serious problems down the line.
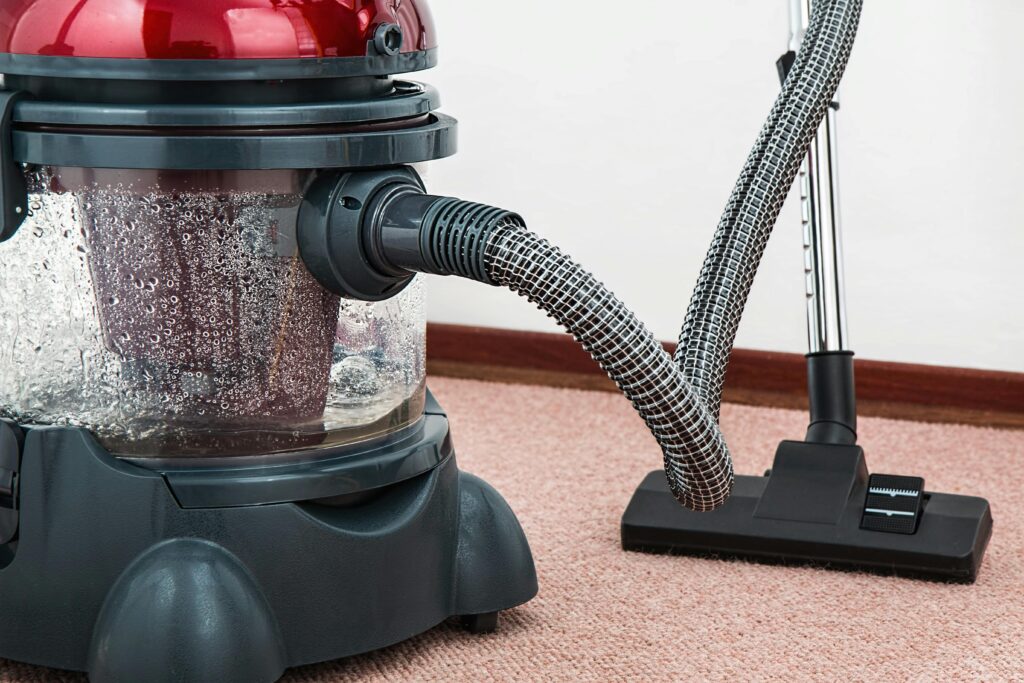
Image courtesy of Pixabay production. Published on: January 27th, 2016. Source: pexels.com
2. Dust ceiling fans and vents
Dust in ceiling fans and air vents often goes unnoticed until it starts affecting air quality. Regular cleaning is crucial for maintaining a healthy home environment.
For ceiling fans, use an extendable duster or a ladder to reach the blades. A pillowcase can be a handy tool – slip it over each blade and wipe to collect dust without making a mess.
When it comes to vents, remove the covers and soak them in warm, soapy water. Vacuum the ducts as far as you can reach, then dry and replace the covers. If you have allergies or your home feels especially dusty, it might be worth calling in the professionals.

Image courtesy of Geln Carnie. Published on: April 21st, 2020. Source: unsplash.com
3. Don’t hang about
Curtains, drapes, and blinds are often overlooked during everyday cleaning. They can harbour dust, allergens, and even mould if not cleaned regularly.
Start by taking down curtains and checking their care labels. Many can be machine washed on a gentle cycle, while others may require dry cleaning. For non-washable items, use a vacuum with a brush attachment to remove dust.
Close blinds fully and wipe each slat with a microfiber cloth. If they’re particularly dirty, use a mixture of warm water and mild detergent to clean both sides.
After cleaning, ensure all window treatments are completely dry before rehanging to prevent mould growth. This is also a good time to inspect for any damage or wear and tear.
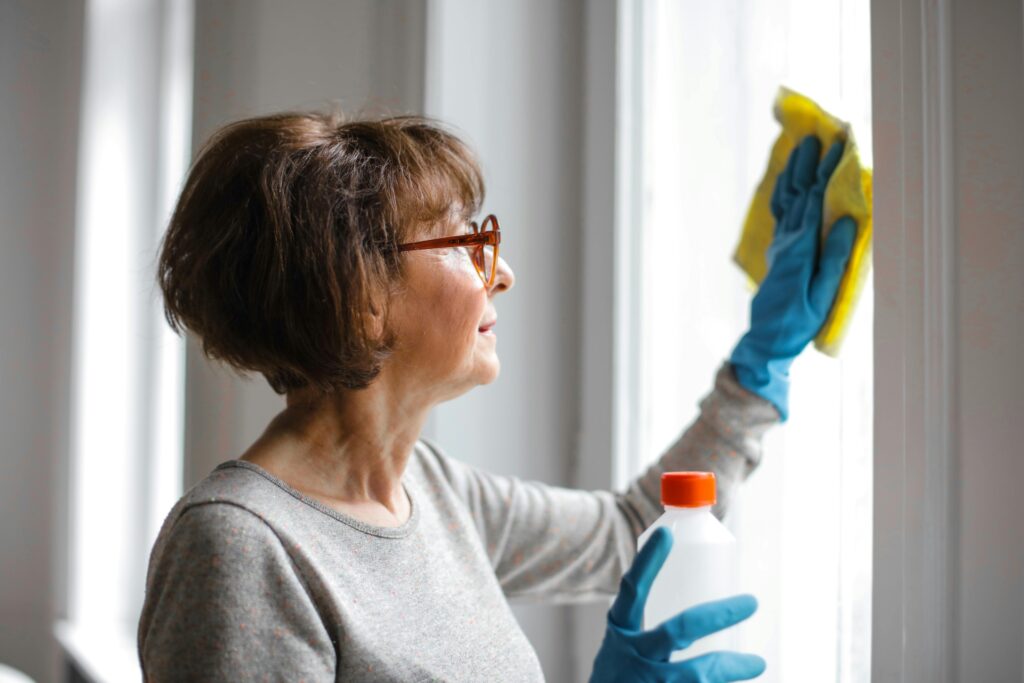
Image courtesy of Andrea Piacquadio. Published on: February 19th, 2020. Source: pexels.com
4. Declutter your pantry
Spring cleaning isn’t just about dusting and scrubbing; it’s also an excellent opportunity to declutter and reorganise your living space. A well-organised pantry can make meal preparation easier and help reduce food waste.
Start by removing everything from the shelves and checking expiry dates. Group similar items together and consider using clear, airtight containers for items like flour, sugar, and pasta. This not only looks neater but also helps keep ingredients fresh.
Label everything clearly with its name and expiry date, so you can keep track of what should be used up first. Consider adding shelf risers or lazy Susans to maximise space and make items more accessible. Remember to wipe down all shelves and containers before restocking, and consider using hooks or hanging racks for pots and pans – this can be a great way to save space.
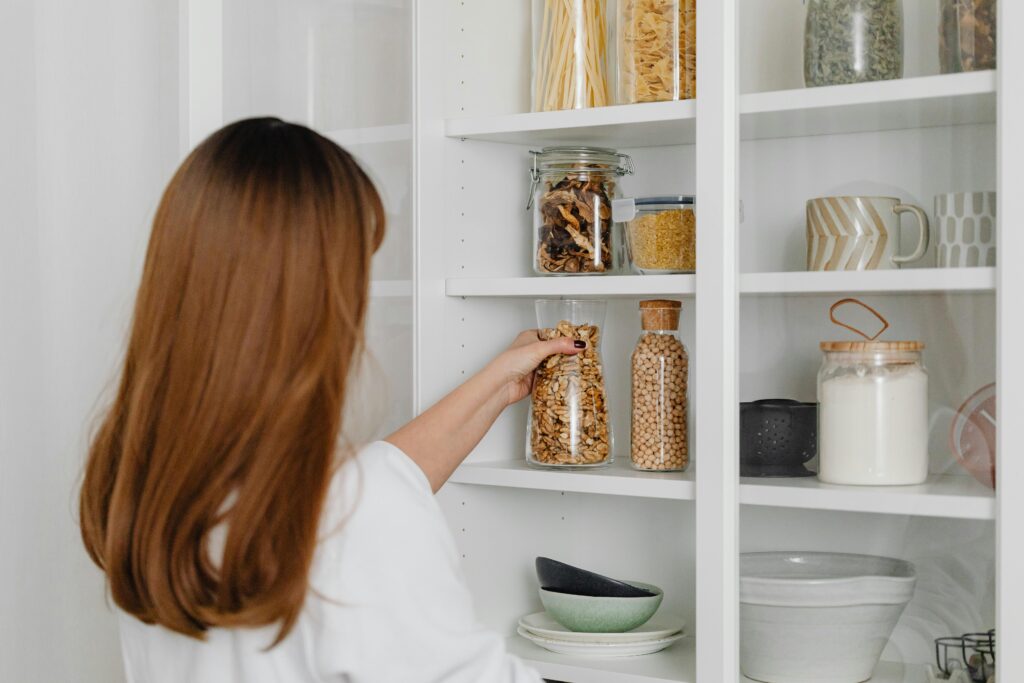
Image courtesy of Kaboompics.com. Published on: January 31st, 2021. Source: pexels.com
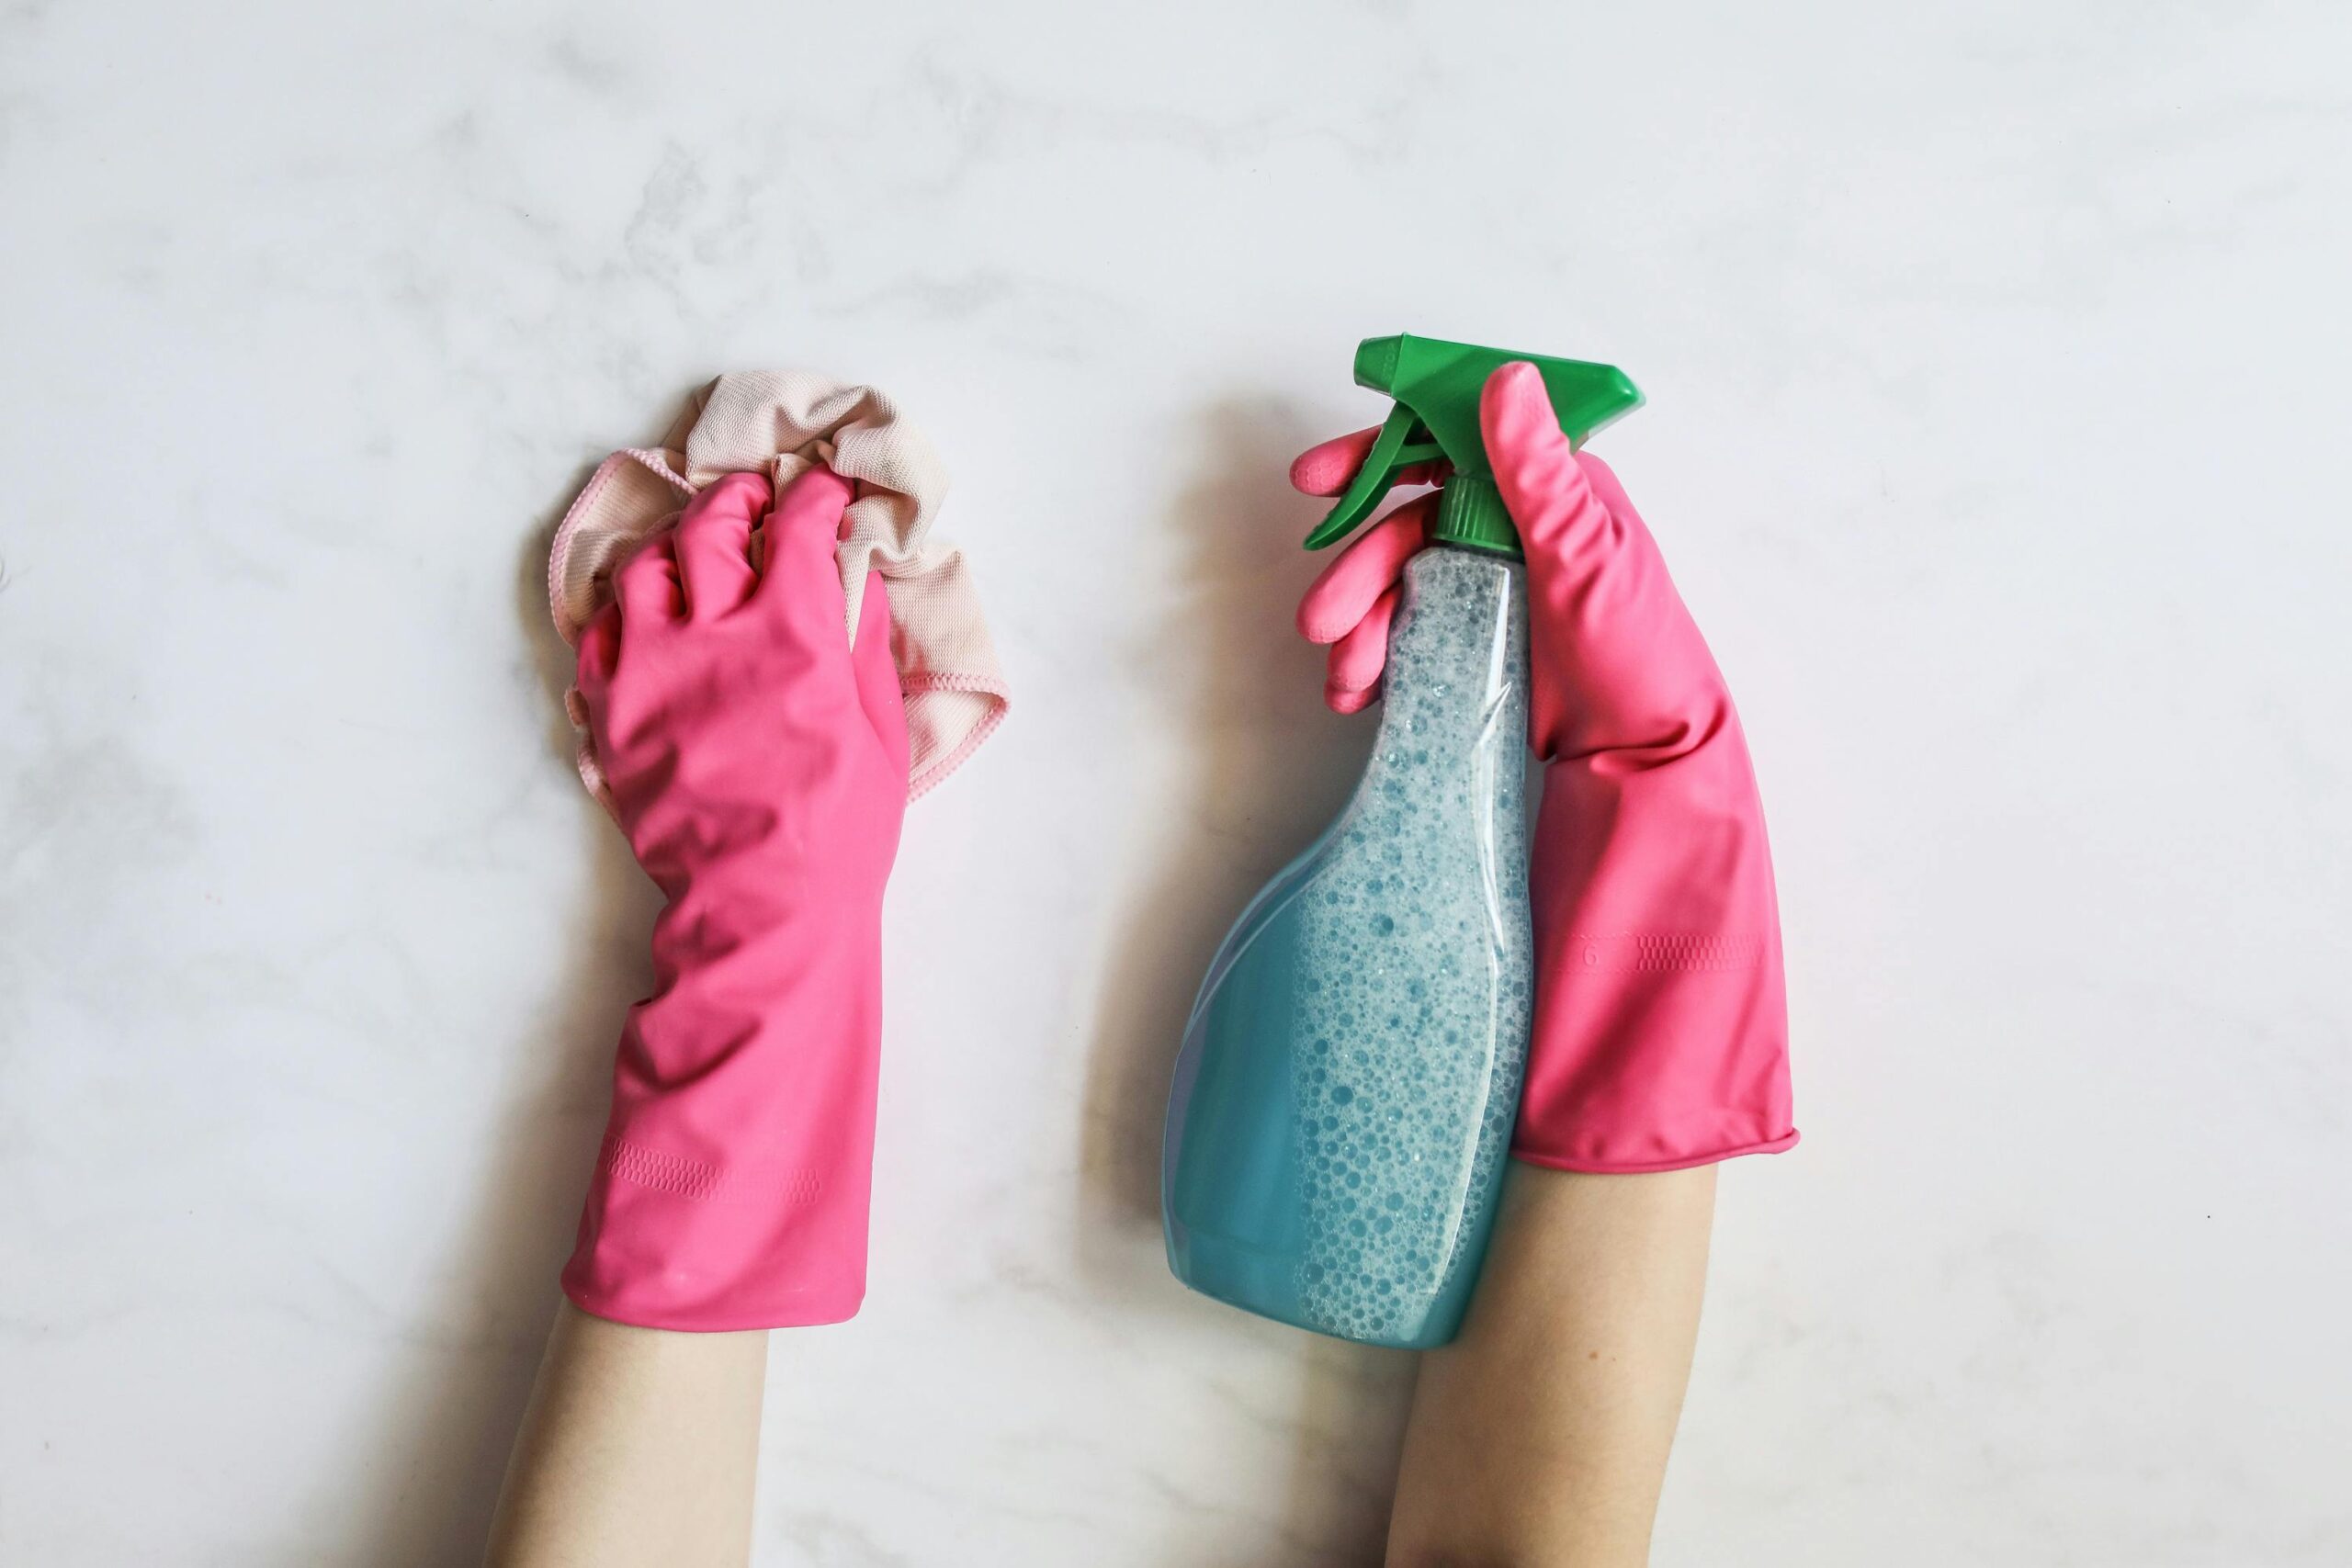
5. Tidy up under the sink
The area under the sink often becomes a catch-all for cleaning supplies and miscellaneous items. Organising this space can make your daily cleaning routines more efficient.
Start by removing everything and giving the area a thorough clean. Check for any signs of water damage or leaks, then sort your items by type, and use clear plastic bins or a small shelving unit to keep everything organised and easily accessible.
Using a tension rod to hang spray bottles will free up valuable space, while an over-the-door organiser on the cabinet door can also provide extra storage for smaller items. Don’t forget to properly dispose of any old or unused cleaning products.
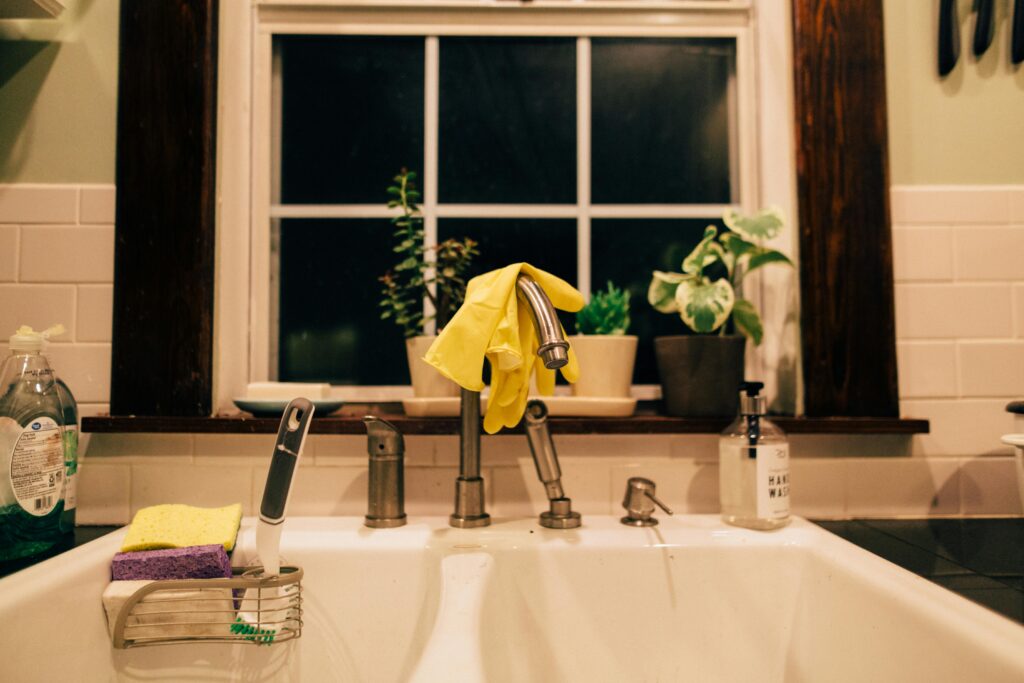
Image courtesy of Kelly. Published on: August 13th, 2019. Source: pexels.com
6. Reorganise the linen closet
A well-organised linen closet can make changing bed sheets and finding towels a breeze. Start by taking everything out and sorting items by type and size. Fold sheets and towels uniformly to create neat stacks. Consider using shelf dividers to keep these stacks from toppling over.
Store sets of sheets inside one of their pillowcases to keep everything together. This makes it easy to grab a complete set when it’s time to change the bedding. Use baskets or bins for smaller items like washcloths or extra toiletries, and label them clearly for easy identification.
Consider vacuum-sealing out-of-season items like heavy blankets or beach towels to save space and protect them from dust and moisture.
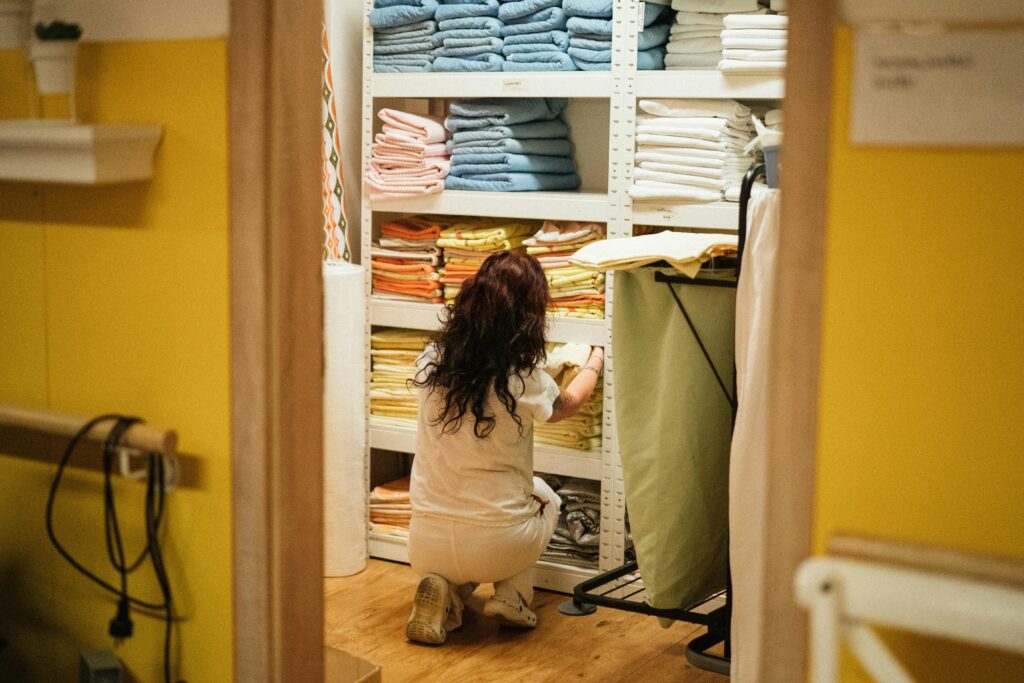
Image courtesy of Jsme MILA. Published on: September 26th, 2023. Source: pexels.com
7. Scrub baseboards and trim
Baseboards and trim collect dust and scuff marks over time, so giving them attention can really freshen up a room.
Start by dusting the baseboards with a microfiber cloth or vacuum attachment. For painted baseboards, use a solution of warm water and mild dish soap. Dip a soft cloth or sponge into the solution, wring it out well, and wipe down the baseboards.
For stubborn marks, a Magic Eraser can work wonders – just be careful to avoid damaging the paint. Dry the baseboards thoroughly after cleaning, and check for any chips or damage.

Image courtesy of RDNE Stock project. Published on: June 11th, 2021. Source: pexels.com
8. Wash light fixtures and shades
Clean light fixtures not only look better, but can also improve the brightness of your rooms and enhance the ambience of your home.
Start by turning off the lights and allowing them to cool completely. Carefully remove any detachable parts like glass covers or shades. For glass or plastic shades, wash in warm, soapy water, rinse thoroughly, and allow to dry completely before reattaching. For fabric shades, use a lint roller or vacuum with a brush attachment.
Wipe down the base and stem of each lamp with a damp cloth. For chandeliers or hanging fixtures, use a microfiber duster on an extension pole, or consider hiring a professional for hard-to-reach or delicate fixtures. Don’t forget to dust light bulbs too – a clean bulb can shine up to 20% brighter than a dirty one!

Image courtesy of Neil Daftary. Published on: May 28th, 2018. Source: unsplash.com
9. Clean door handles, switches, and remote controls
High-touch surfaces like door handles, light switches, and remote controls are often overlooked during cleaning, even though they can harbour a surprising amount of dirt and germs. Giving them a quick refresh can instantly make your home feel cleaner and more hygienic.
Start by wiping handles and switches with a disinfectant wipe or a cloth lightly dampened with a mild cleaning solution. Avoid using too much liquid, as it can seep into electrical components.
For remote controls, remove the batteries before cleaning. Use a cotton swab dipped in rubbing alcohol to clean around the buttons and crevices. Finish by wiping the entire remote with a microfiber cloth.
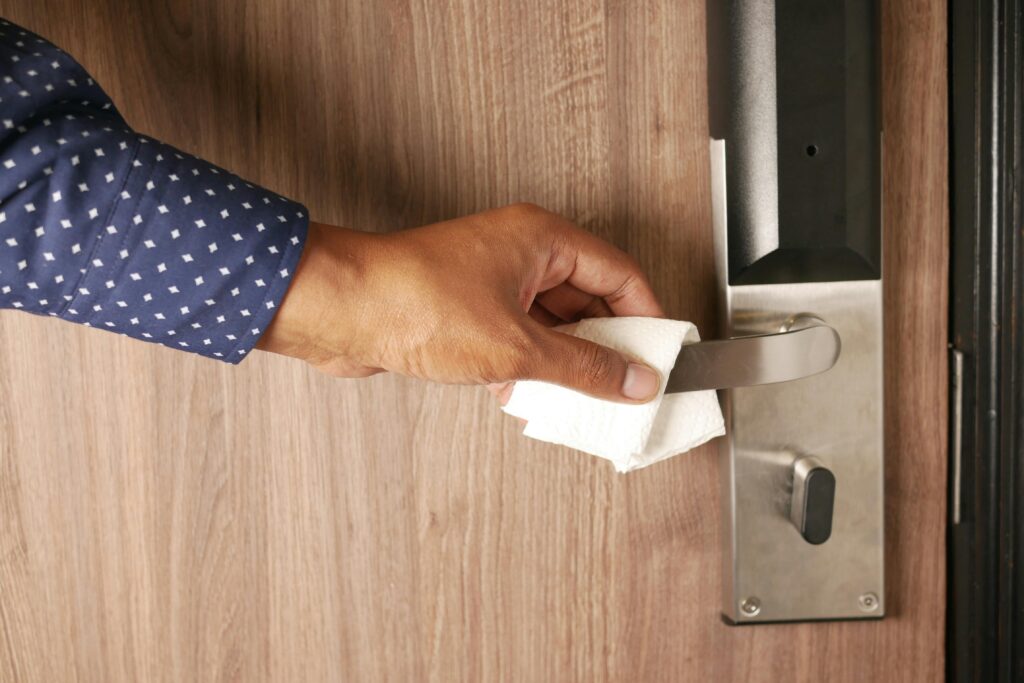
Image courtesy of Towfiqu barbhuiya. Published on: July 22nd, 2022. Source: pexels.com
10. Vacuum and rotate mattresses
Dust mites, dead skin cells, and allergens can build up over time, affecting cleanliness and sleep quality.
Start by stripping all bedding and washing sheets, pillowcases, and mattress protectors. Use a vacuum cleaner with an upholstery attachment to thoroughly clean the mattress surface.
Consider sprinkling baking soda over the mattress, letting it sit for 15–30 minutes, and then vacuuming it up. This helps absorb odours and moisture.
Finally, rotate or flip your mattress according to the manufacturer’s recommendations. This ensures even wear and extends its lifespan, whilst keeping your sleeping space fresh and inviting.
Follow these top tips and you’ll have a home that truly feels like a breath of fresh spring air.
Image courtesy of Marcus Aurelius. Published on: October 4th, 2021. Source: pexels.com