
Contouring seems like such a daunting and difficult task, something you would normally want to leave to the professionals. Now you won’t have to, because this blog post will provide you with a few easy steps to achieve a flawless and beautifully contoured face. After practicing a few times… you are sure to be a pro!
Before we start, I just want to quickly mention a few things you will need to buy (if you don’t already have them) to perfect the art of contouring:
- Foundation suited to your skin (liquid or compact).
- Two foundation sticks: one that is two shades darker than your skin and one that is two shades lighter than your skin.
Step 1: Apply your foundation uniformly to your skin (how you normally would), using your fingertips or a kabuki brush.
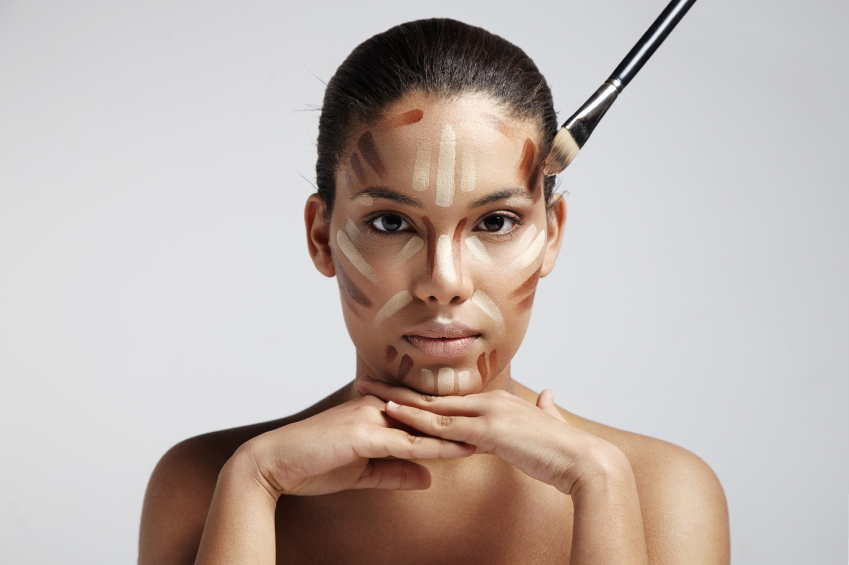
Step 2: Make your mark! Using the darker foundation stick, map your face. Starting from the bottom up, marking the areas you want to contour.

→ Make a mark on either side of your chin, making sure these marks are on the edge of your face.
→ Now you need to move to the side of your face and place marks on either side of your face, closer to the back of your jawline.
→ Now you need to do your cheekbones. If you aren’t sure where to place the darker foundation, look for the dip under your cheek. Above that dip is where you need to place your mark.
→ Move on to your nose, place a thin line on each side of your nose as well as on the bottom, under the tip of your nose. If you wish to add length to your nose, then continue with the side lines until you reach your eyebrows. If you wanting to make your nose look thinner, then place a mark in the alar crease of your nose on either side (the mark should look almost like a “c” shape).
→ Last but not least, mark your temples on either side. If you have a slightly larger forehead continue into your hairline.
Step 3: Now you need to blend it all in. Using a makeup sponge or a slightly damp beauty blender, combine your foundation with the darker contour foundation. Use circular motions to mix the two colours together.
Step 4: Now it’s time to highlight. Using the light foundation stick, make a mark underneath each eye. If you wish to highlight more areas for extra dimension, mark only a small amount between your eyebrows and on your chin. Blend it all in again.
Step 5: Using a medium sized brush, apply translucent powder over the foundation to secure it and make it last longer.
How easy was that? Now you will surely be a pro!